Overview
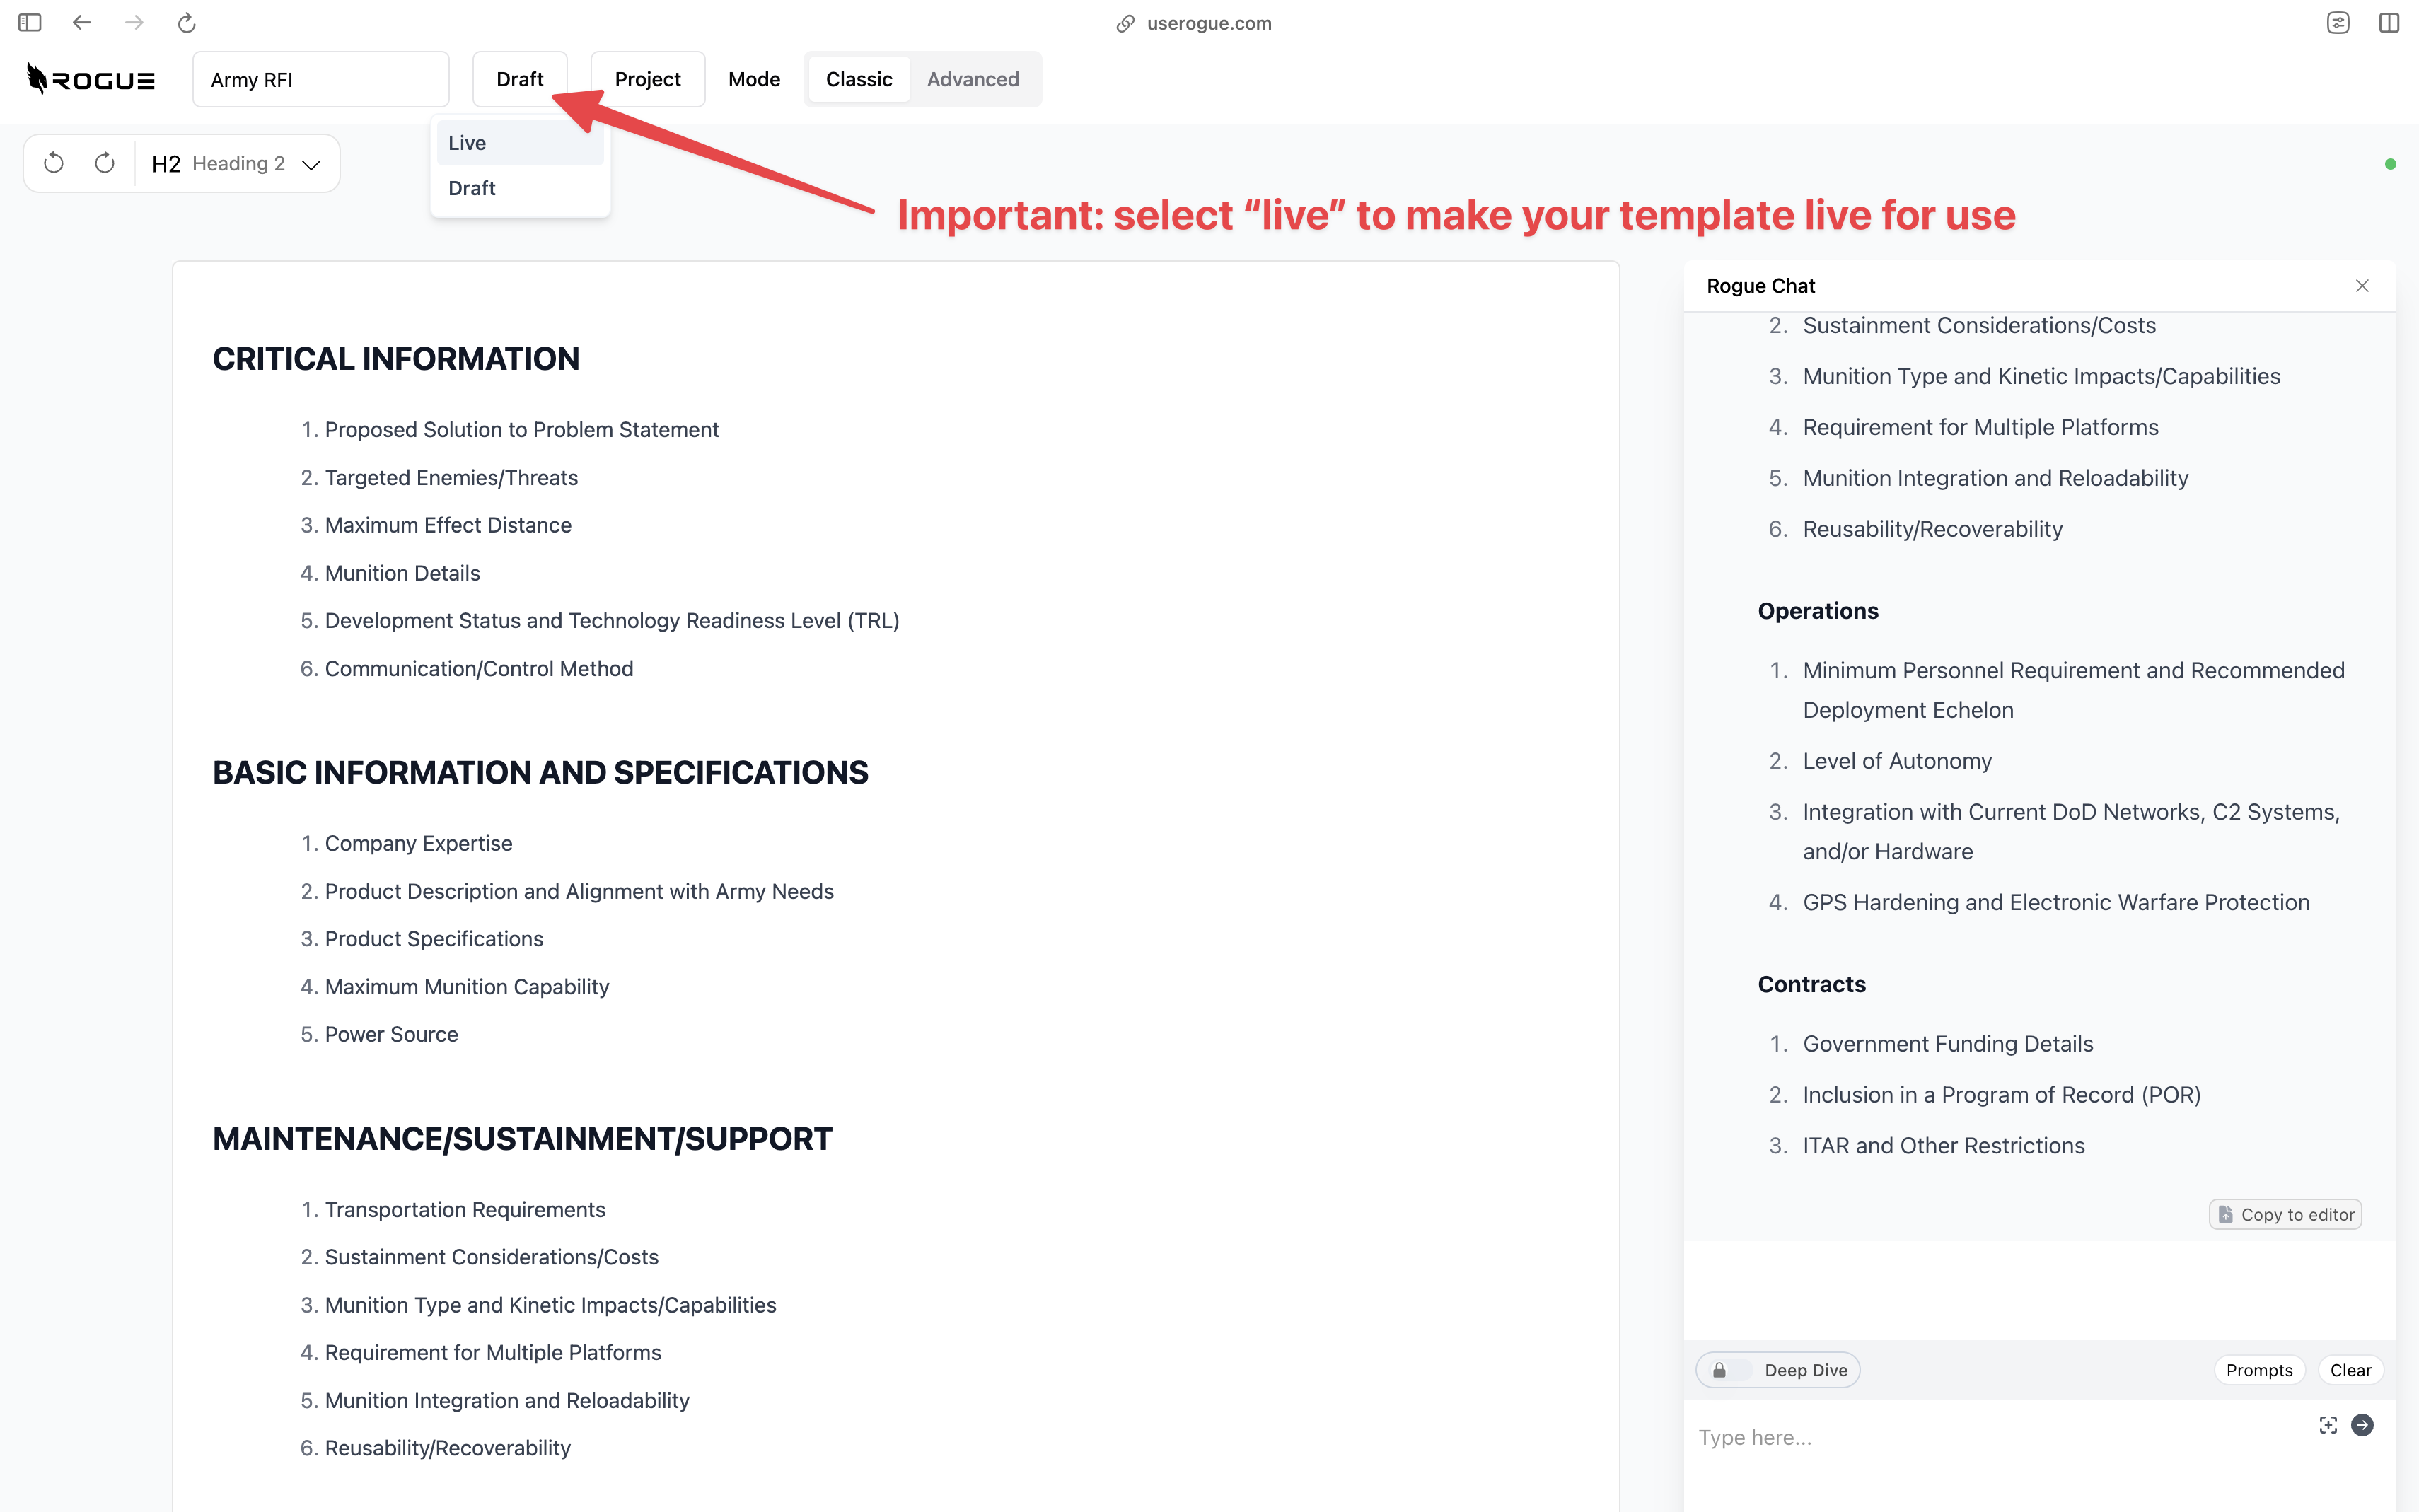
Templates are most useful for solicitations and document types that have common formats for instance, many MAC/IDIQ contracts, broad agency, announcements, RFI’s, Source Sought, and other open calls tend to maintain standard formats. With these types of solicitations, it is less efficient to go through the RFP upload function because the document templates will always be the same, so we enable you to shortcut this process, by simply establishing a document template. You can create a template from scratch by selecting “Create New Template”.Creating a template
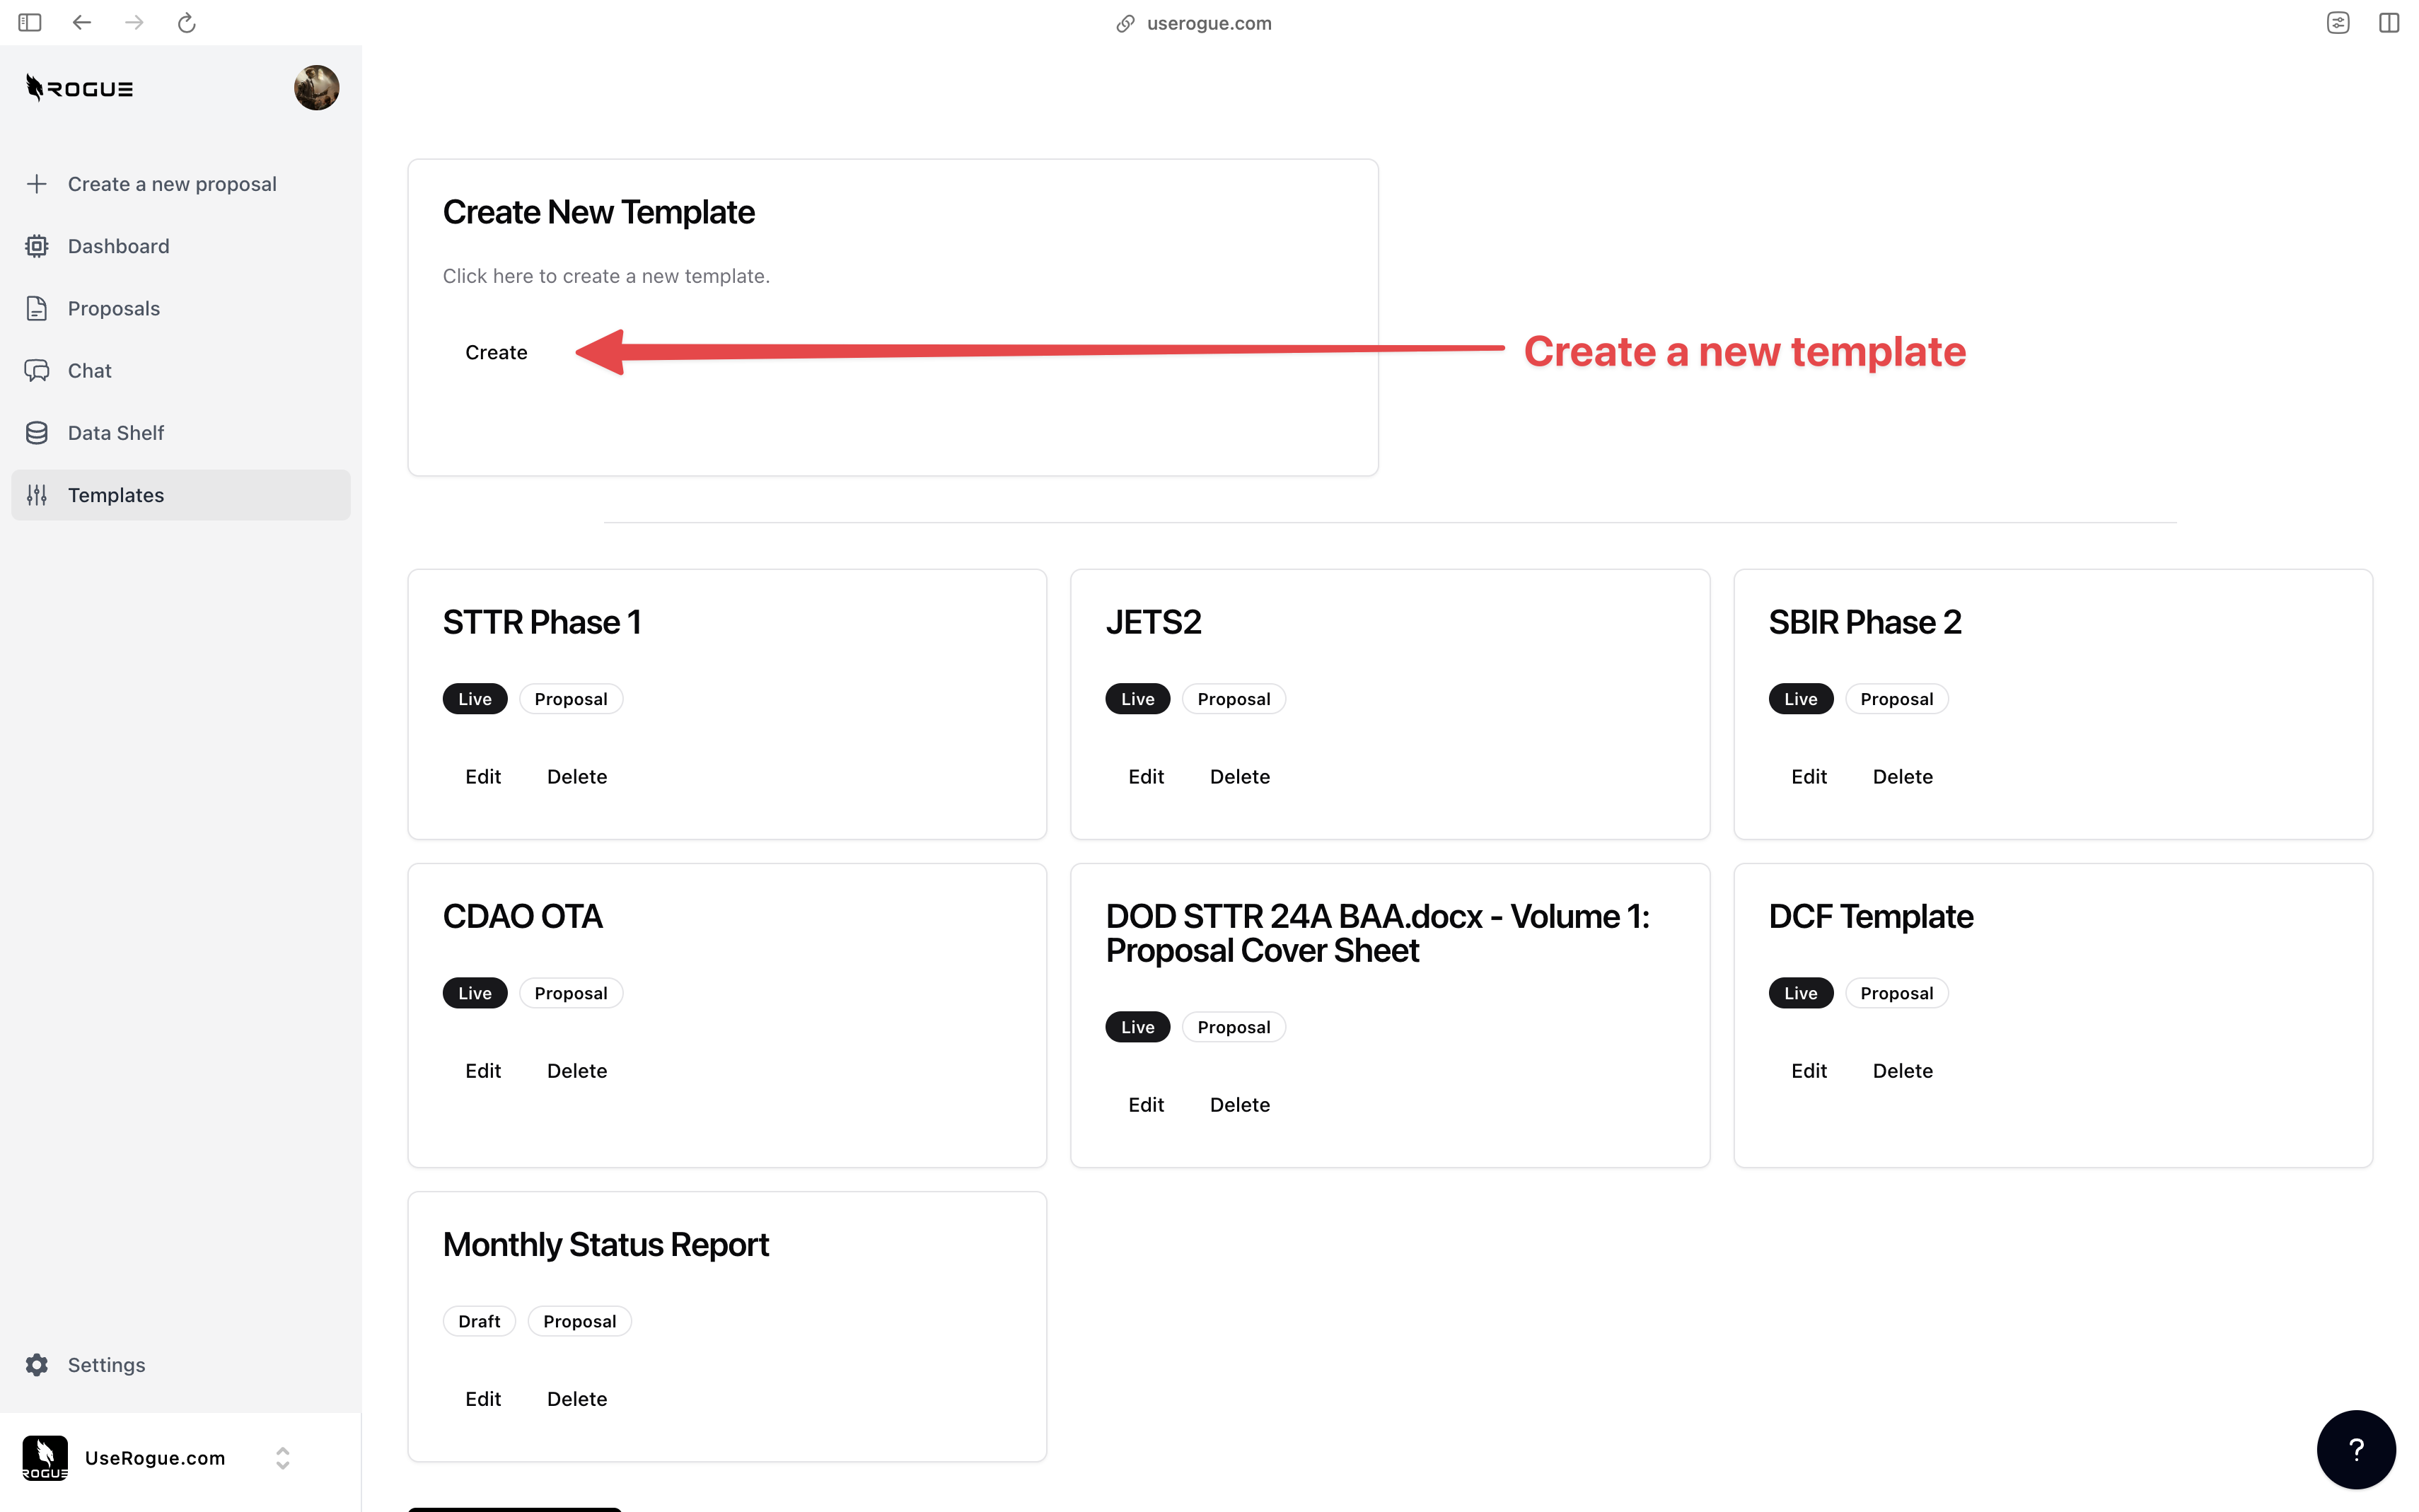
- Give the template a name.
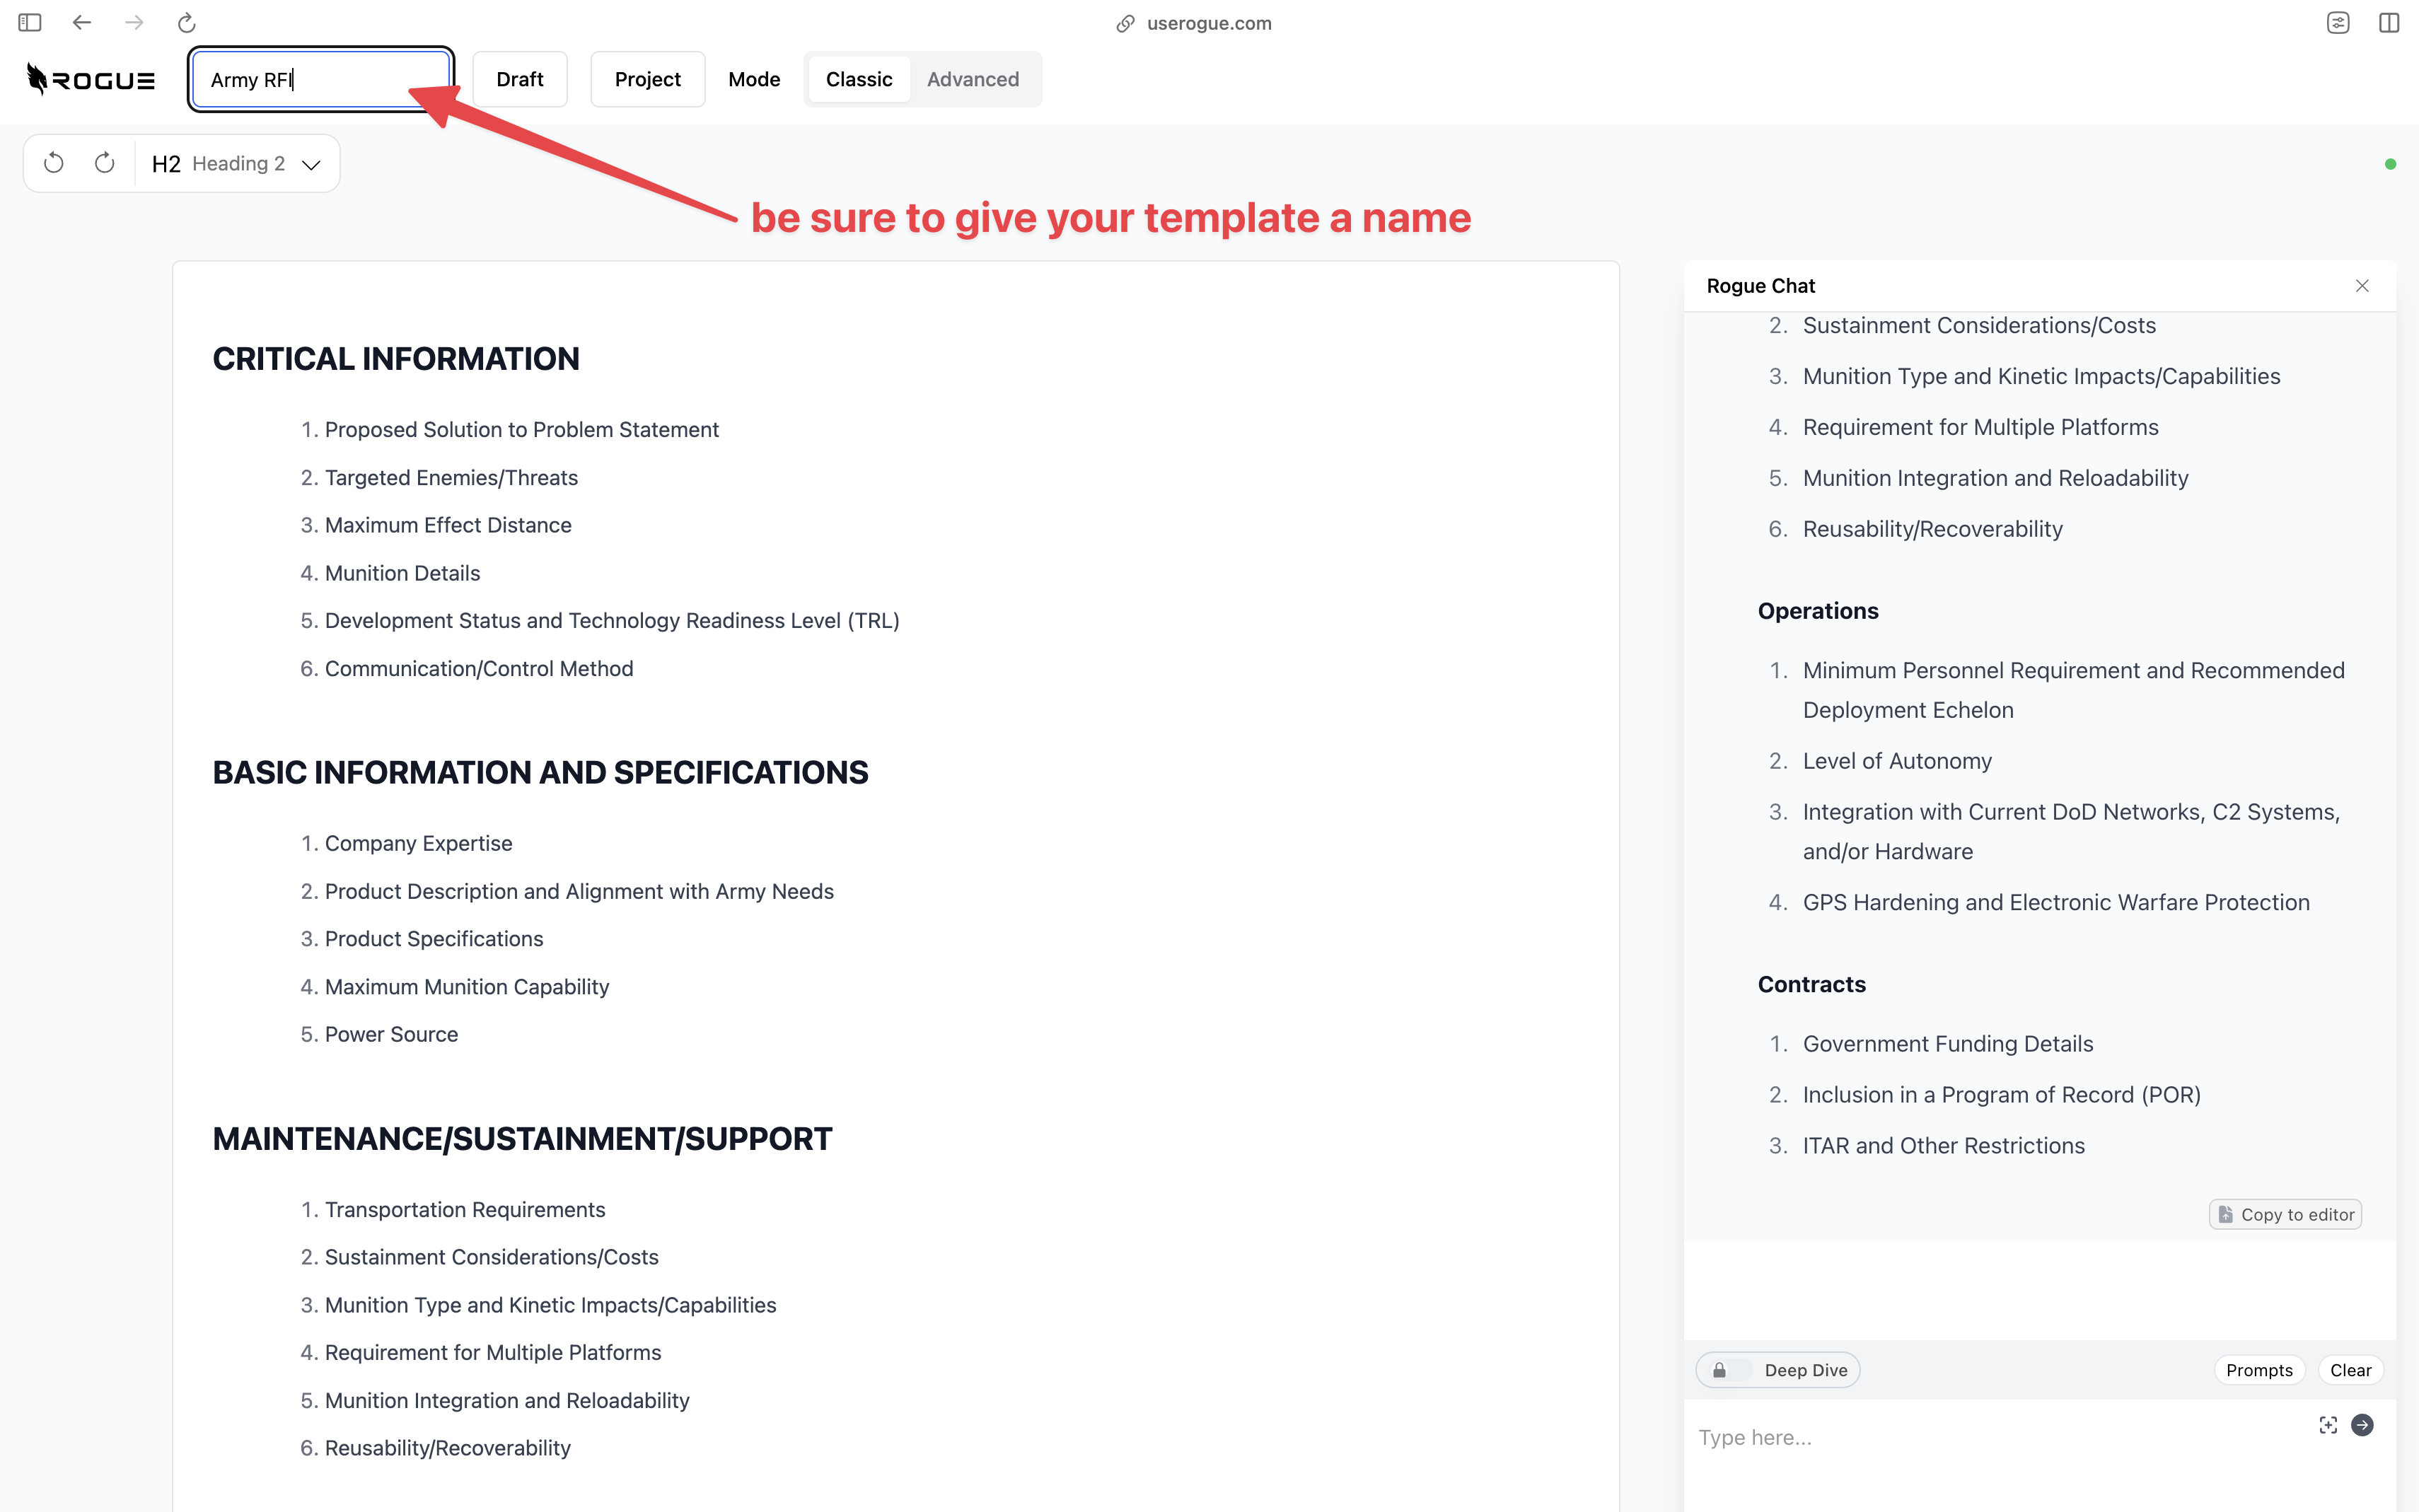
- Select the template category.
Classic Editor
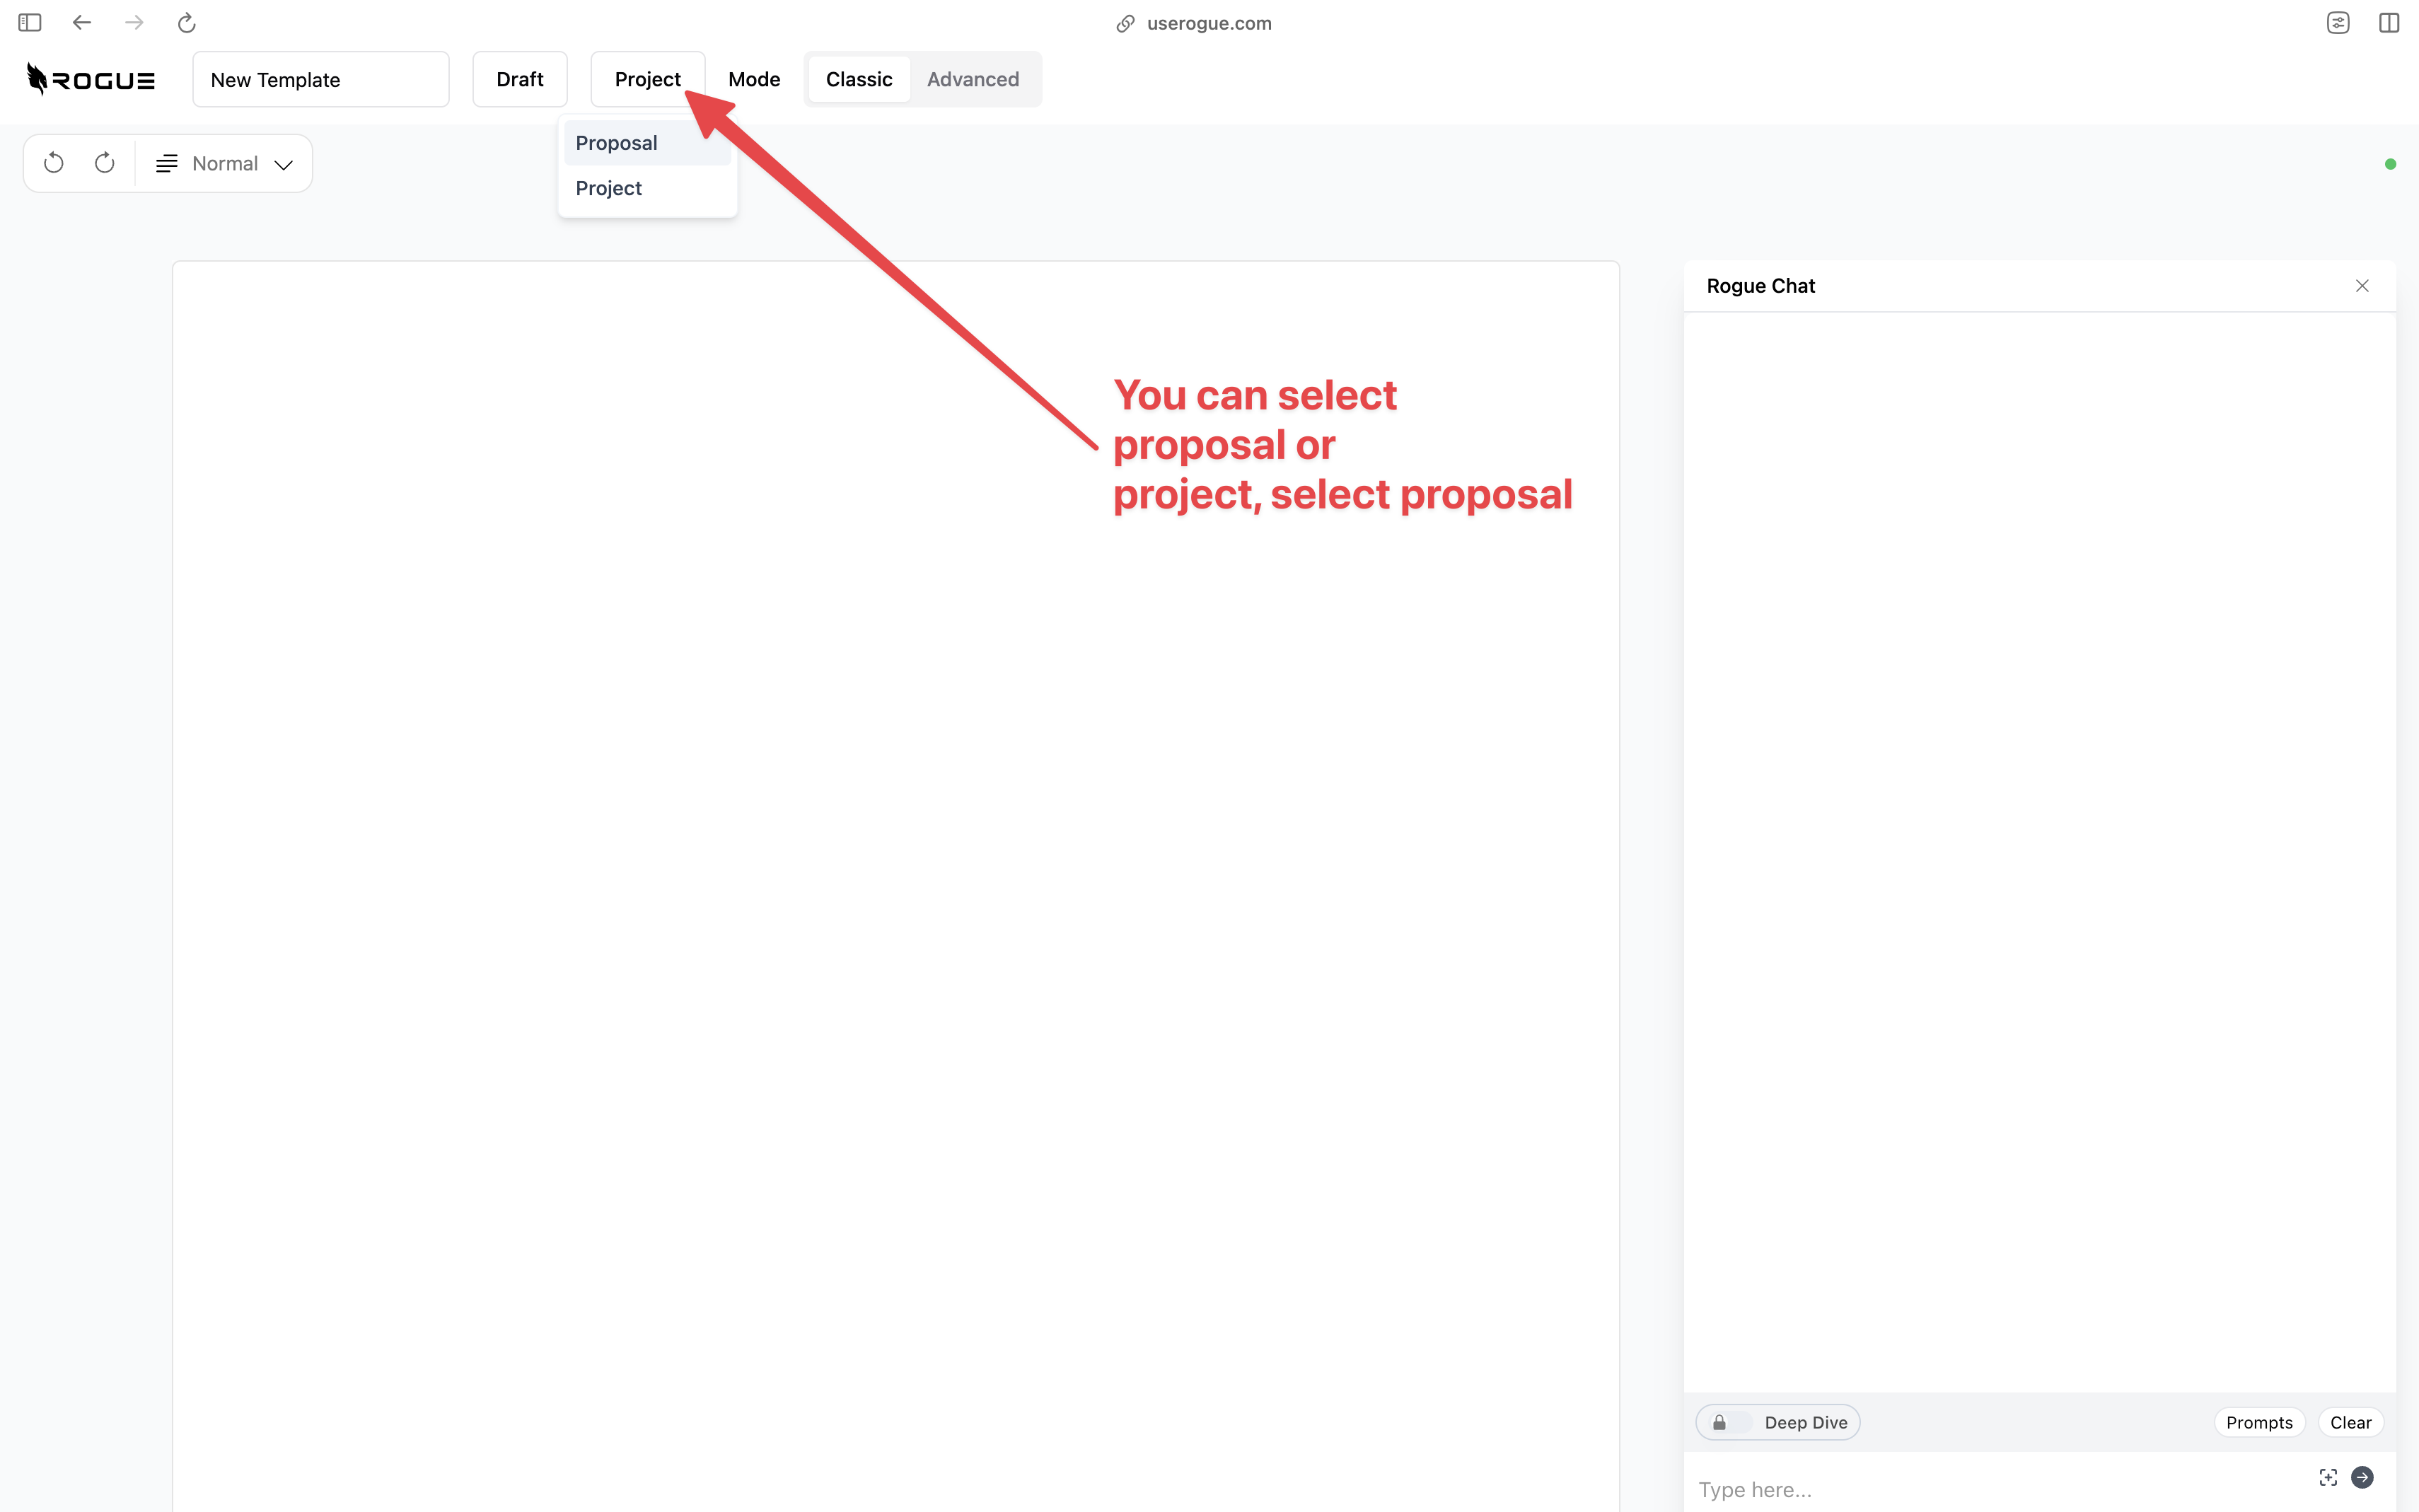
We’ll start with the classic editor. To make a template from scratch simply paste the headers for your document.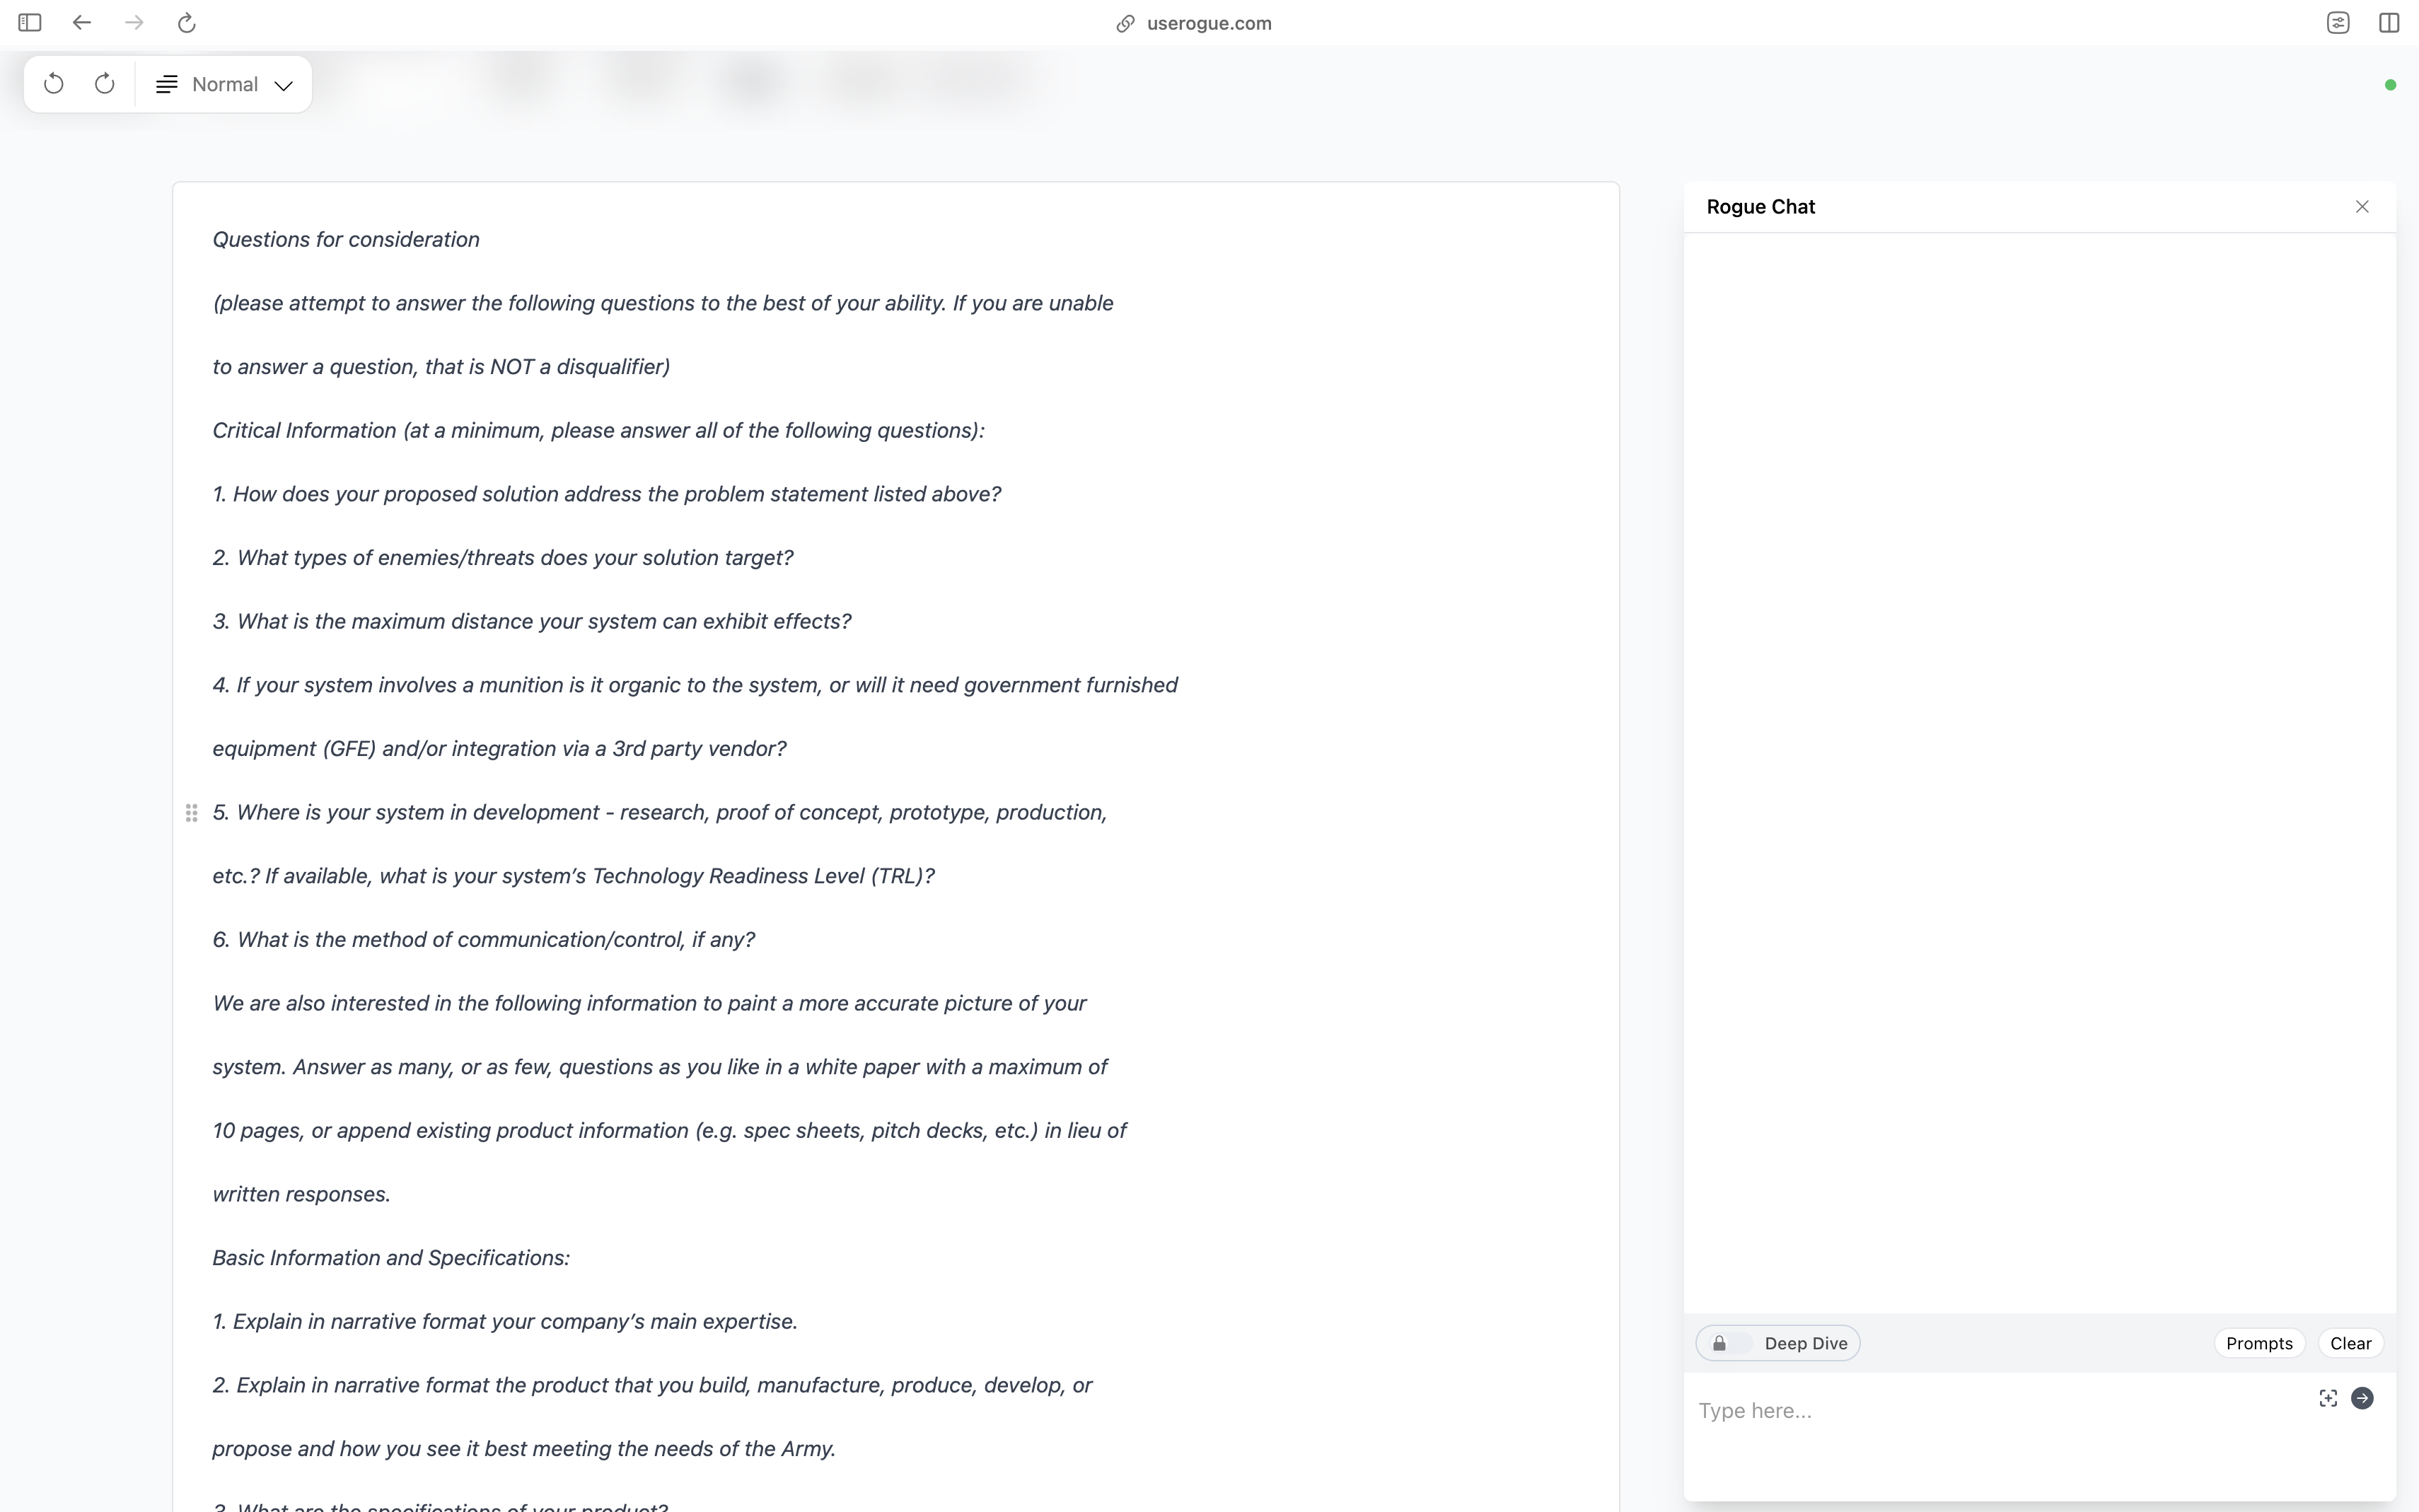
It is important that you only paste the headers for the sections of the
document, the AI will use each header as a cue for generating semantically
relevant content. If you have structured content like header material, company
overview content, etc, it is best to save that content as a snippet (more on
that later).
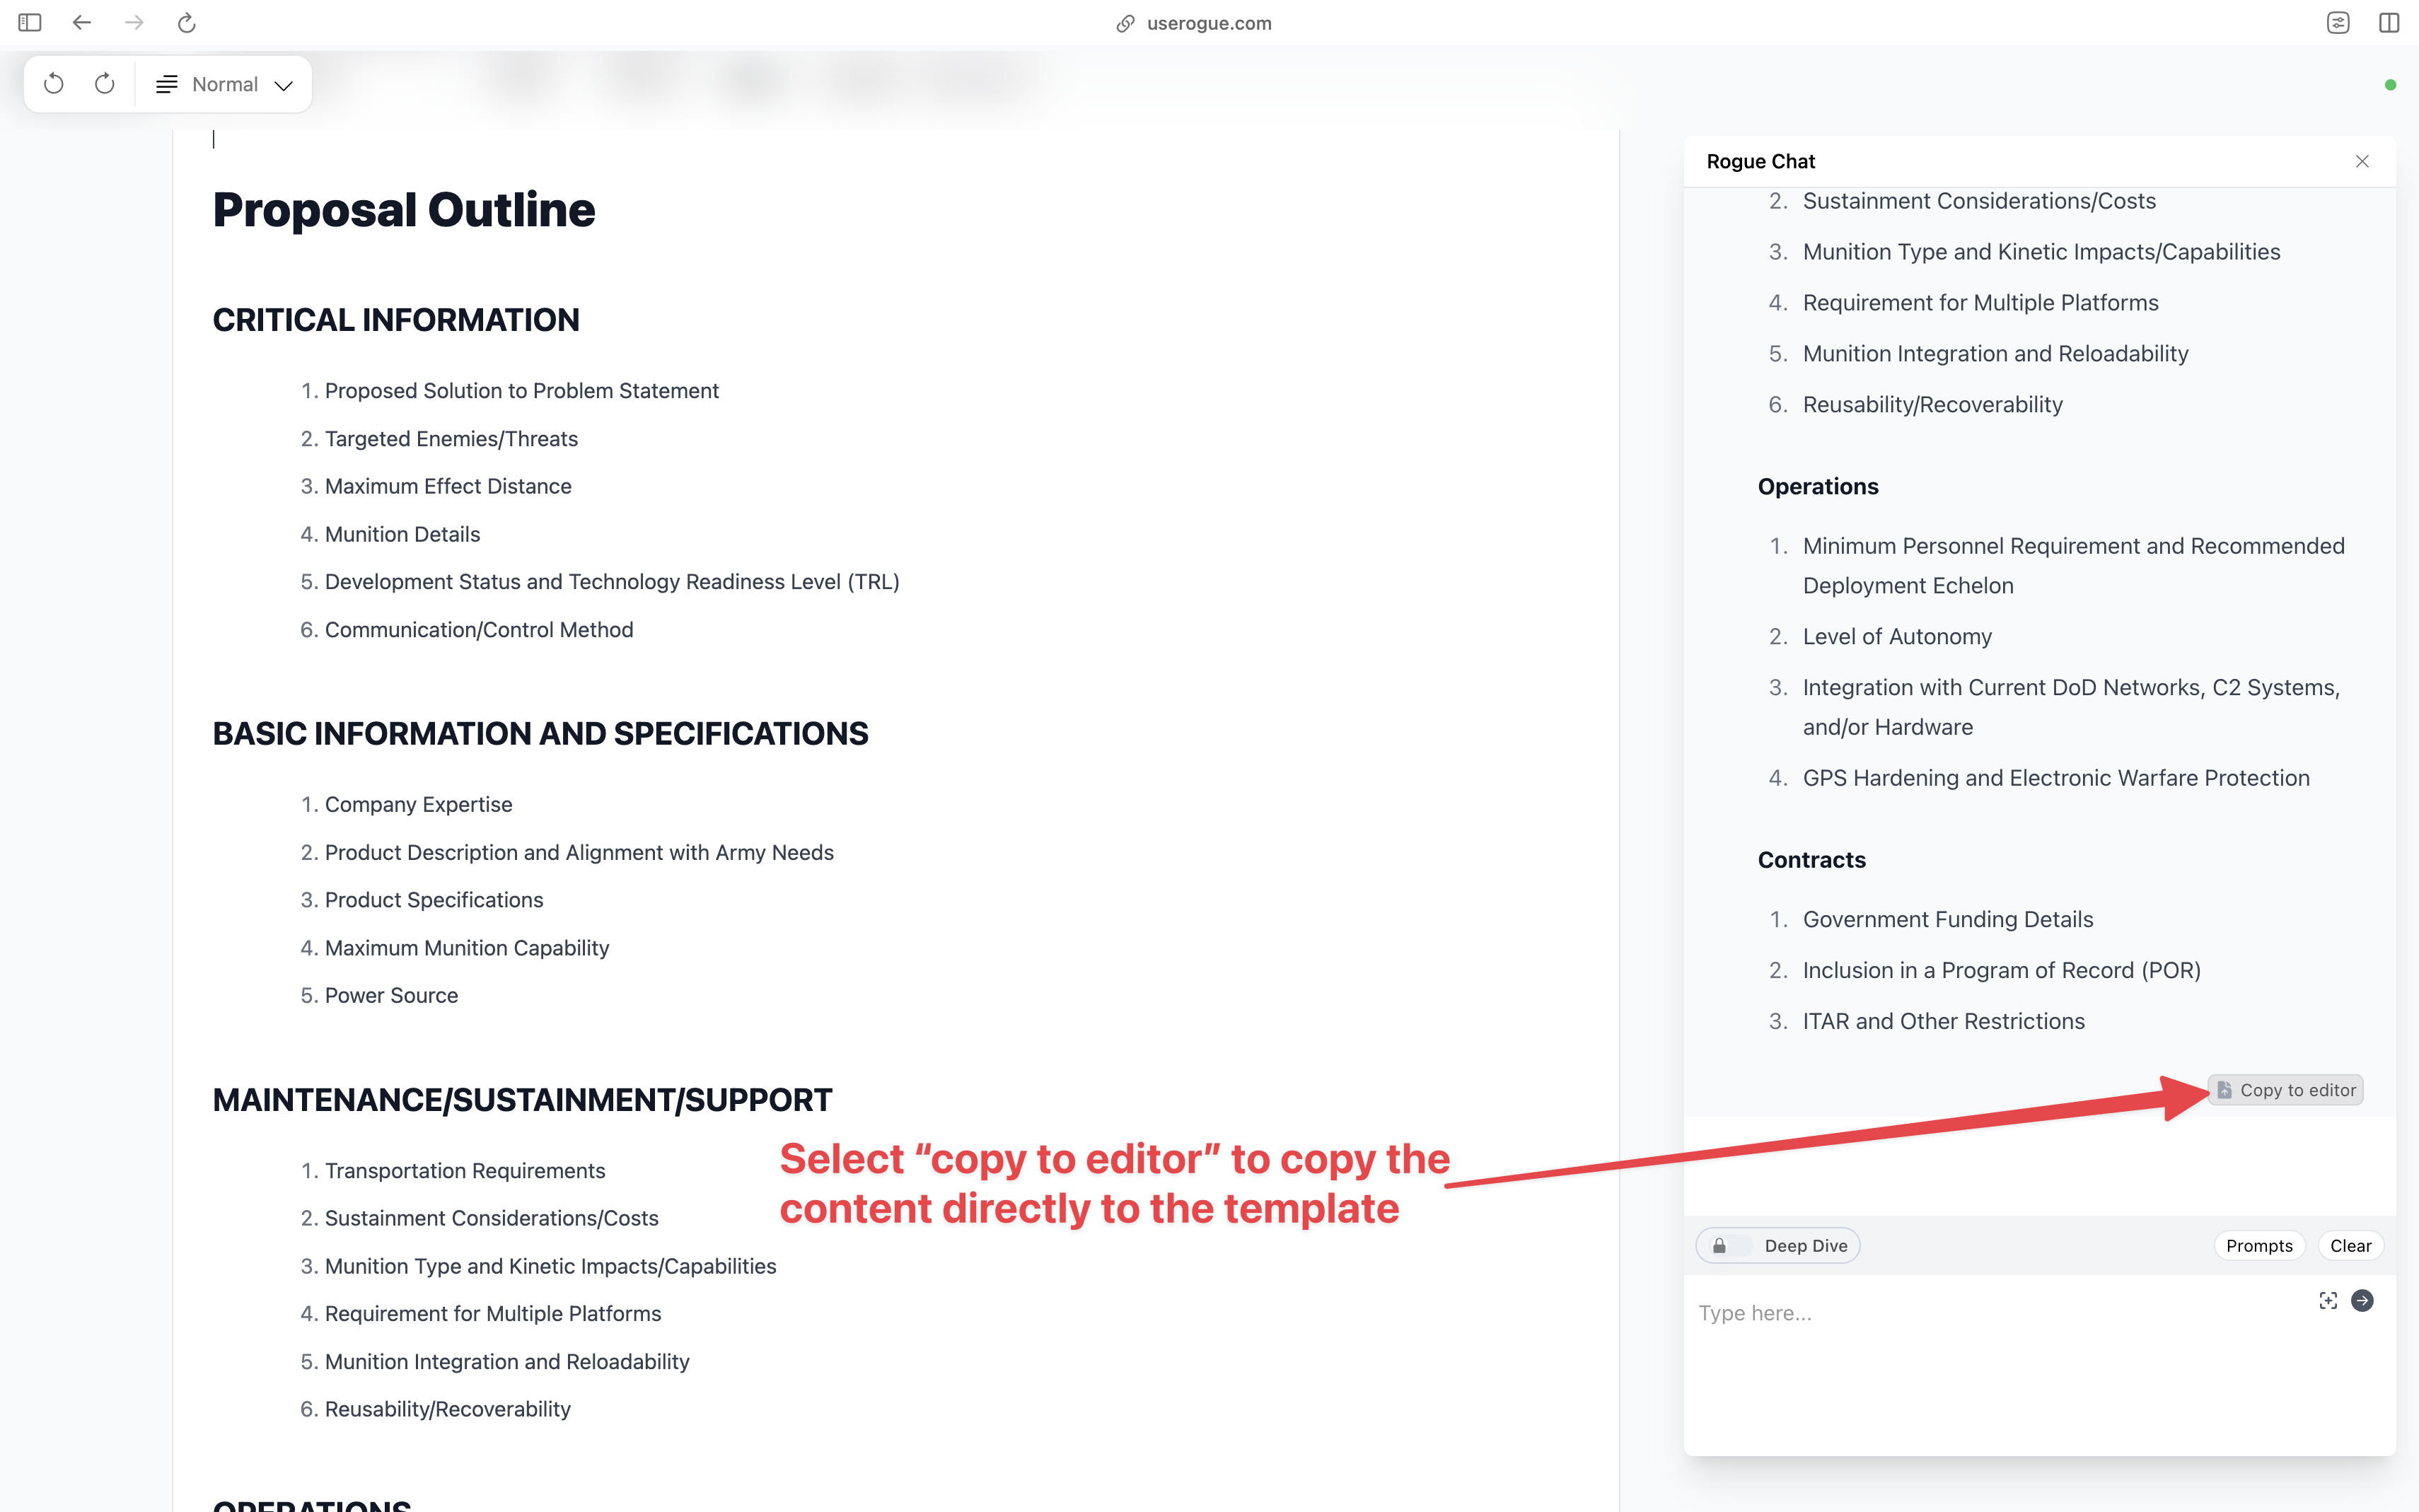
You can also use the chat window to help you create your template. Simply copy the proposal format instructions from the RFI/RFP/RFQ and paste them into the chat window with a simple instruction like “Please create a template from this document”.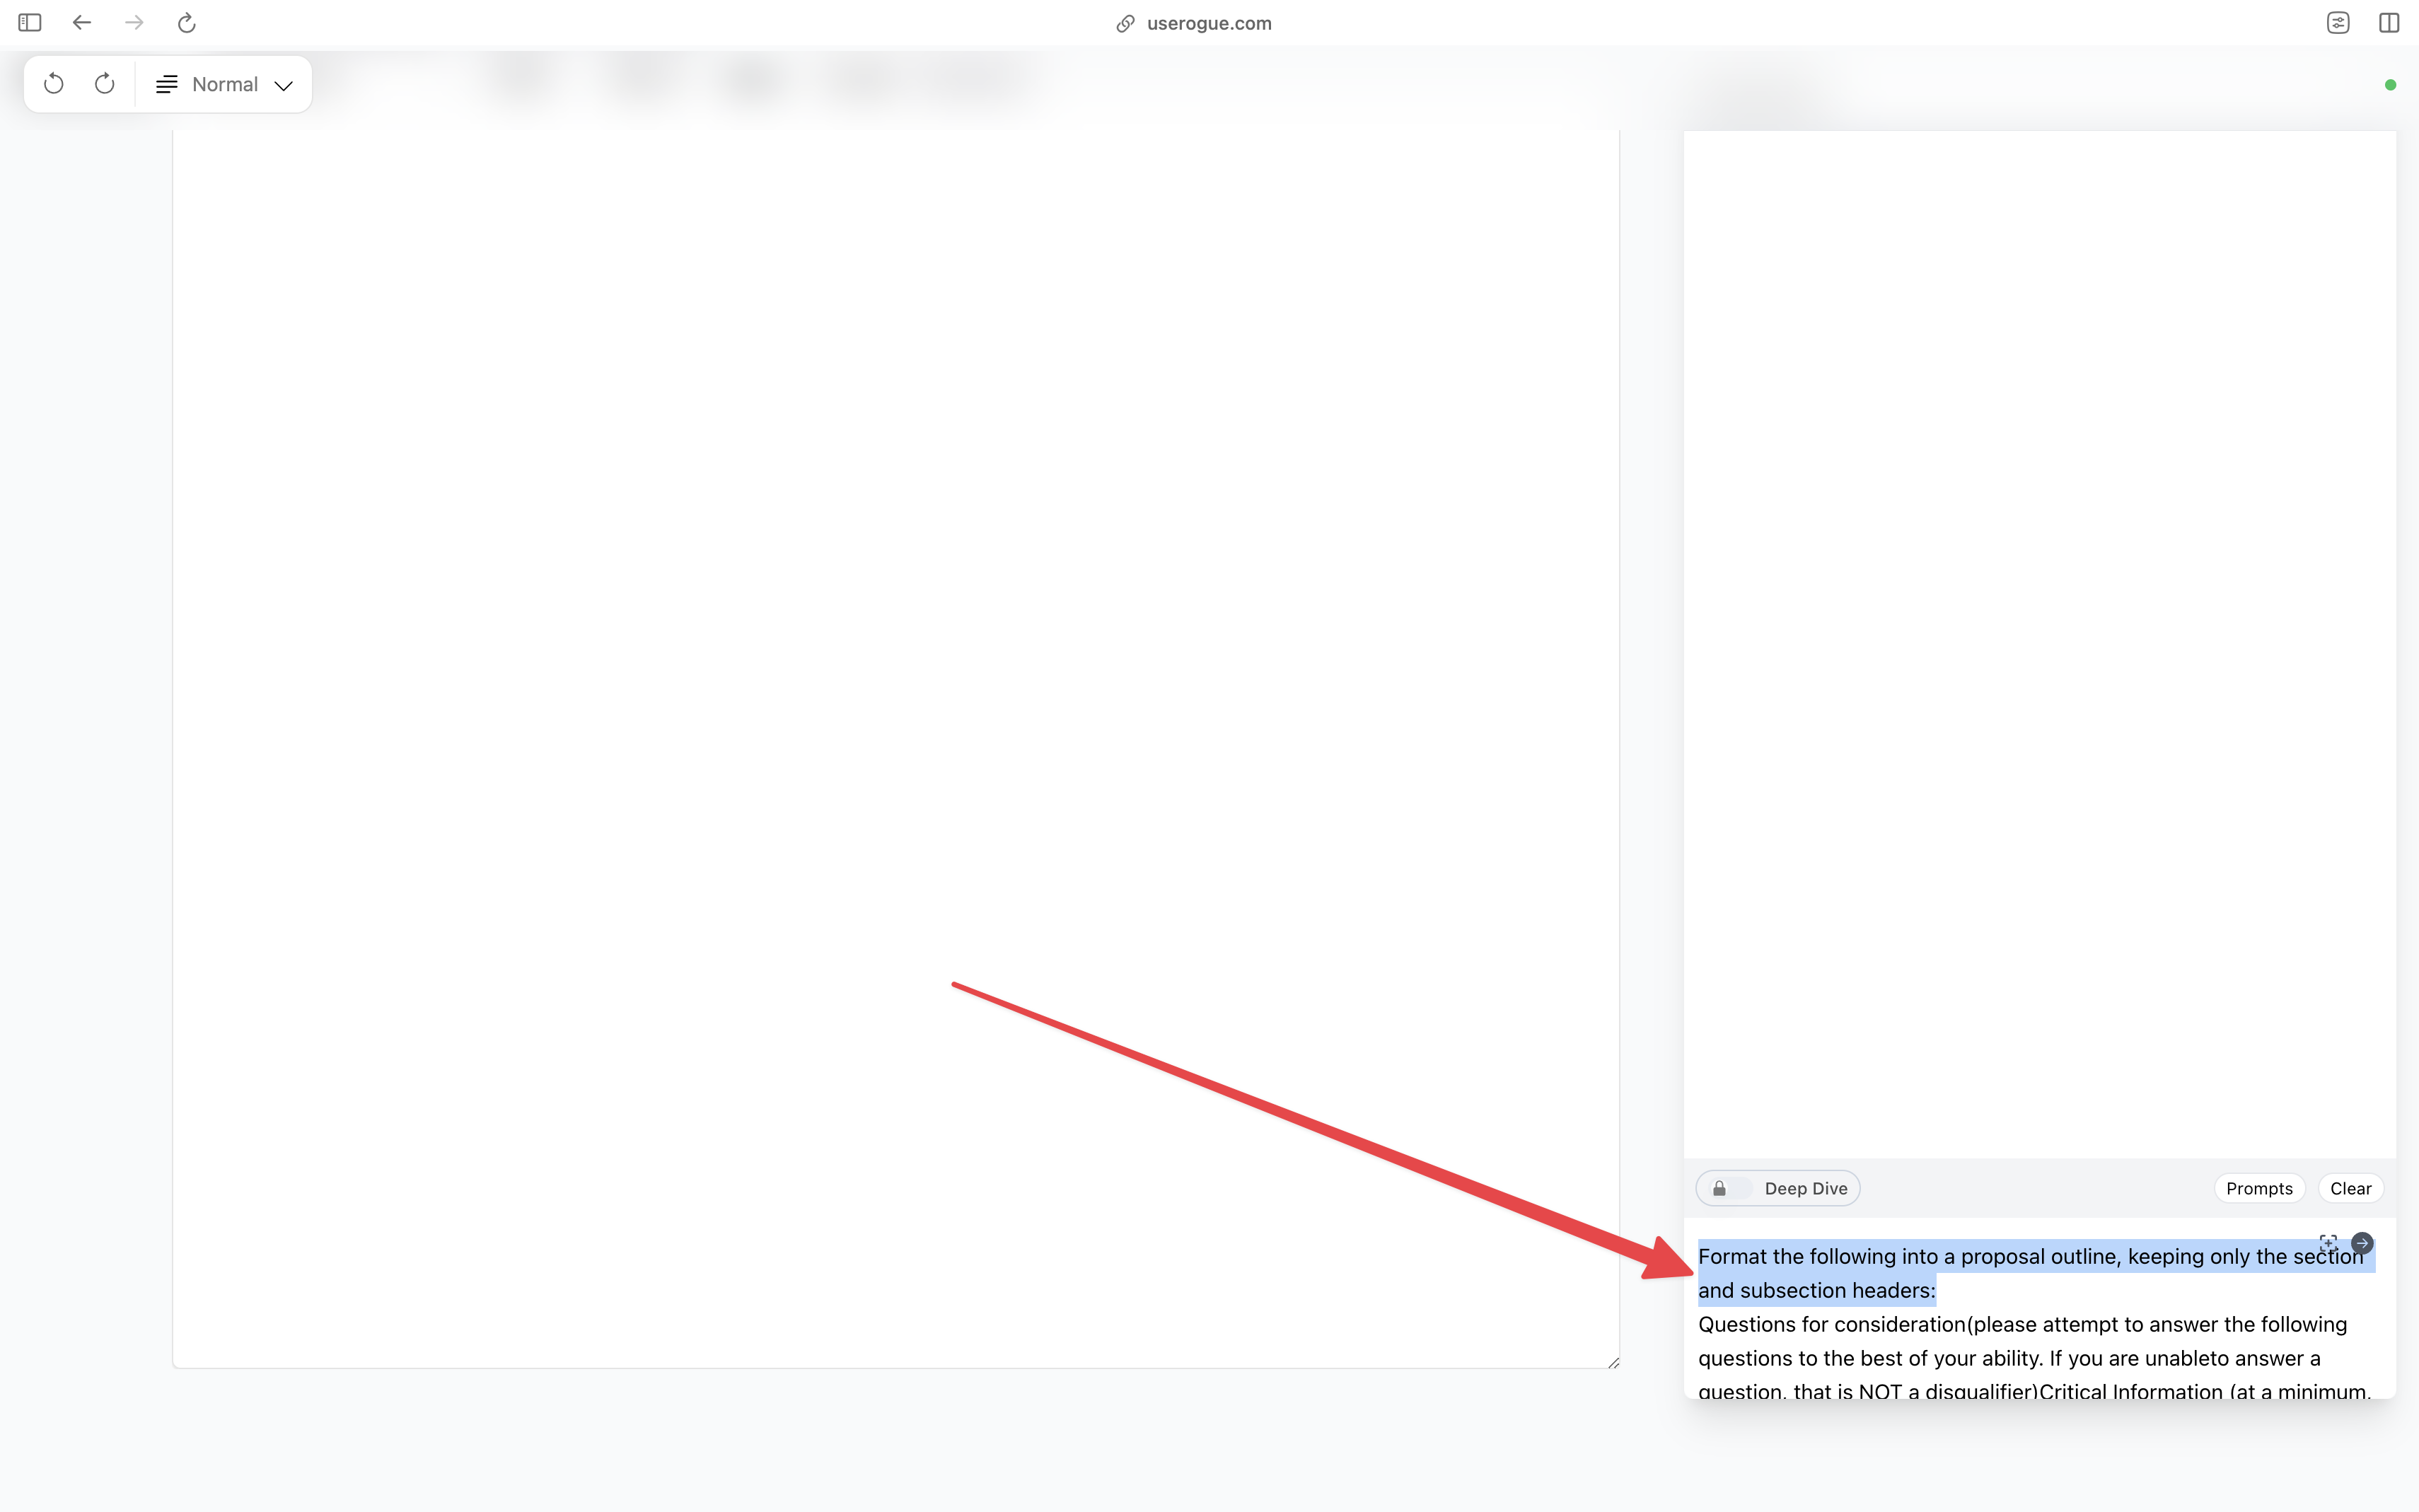

Advanced Editor
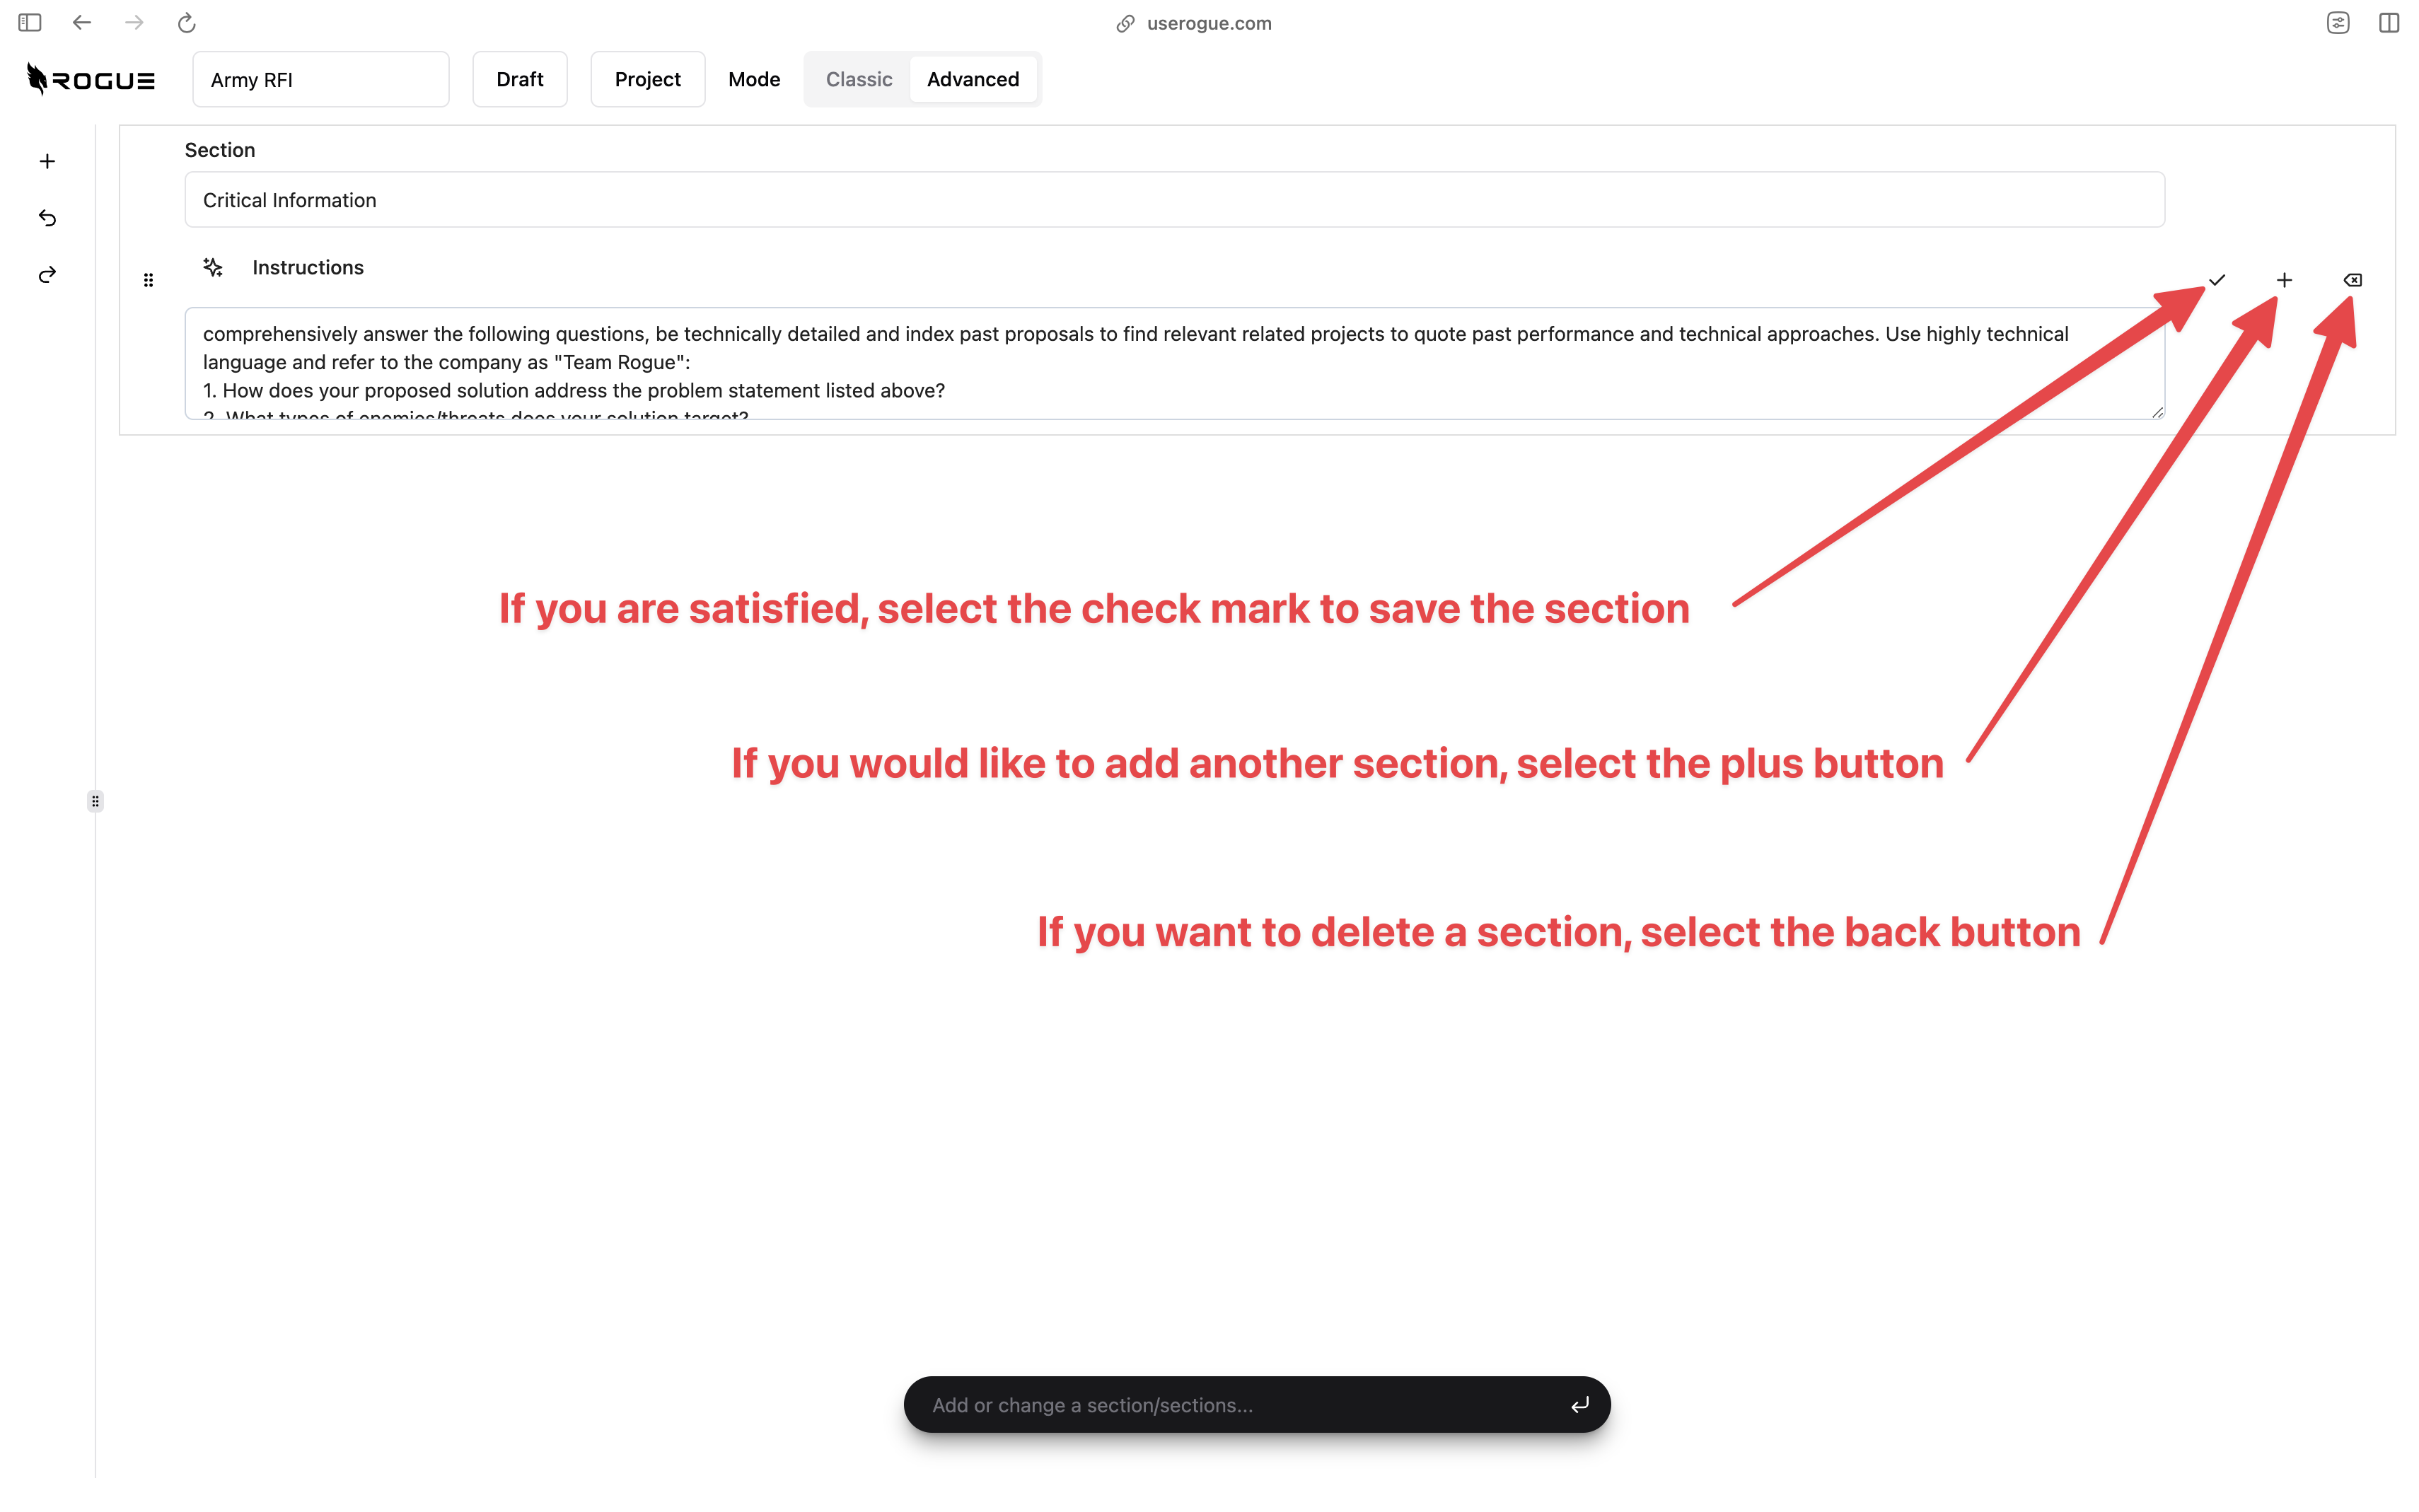
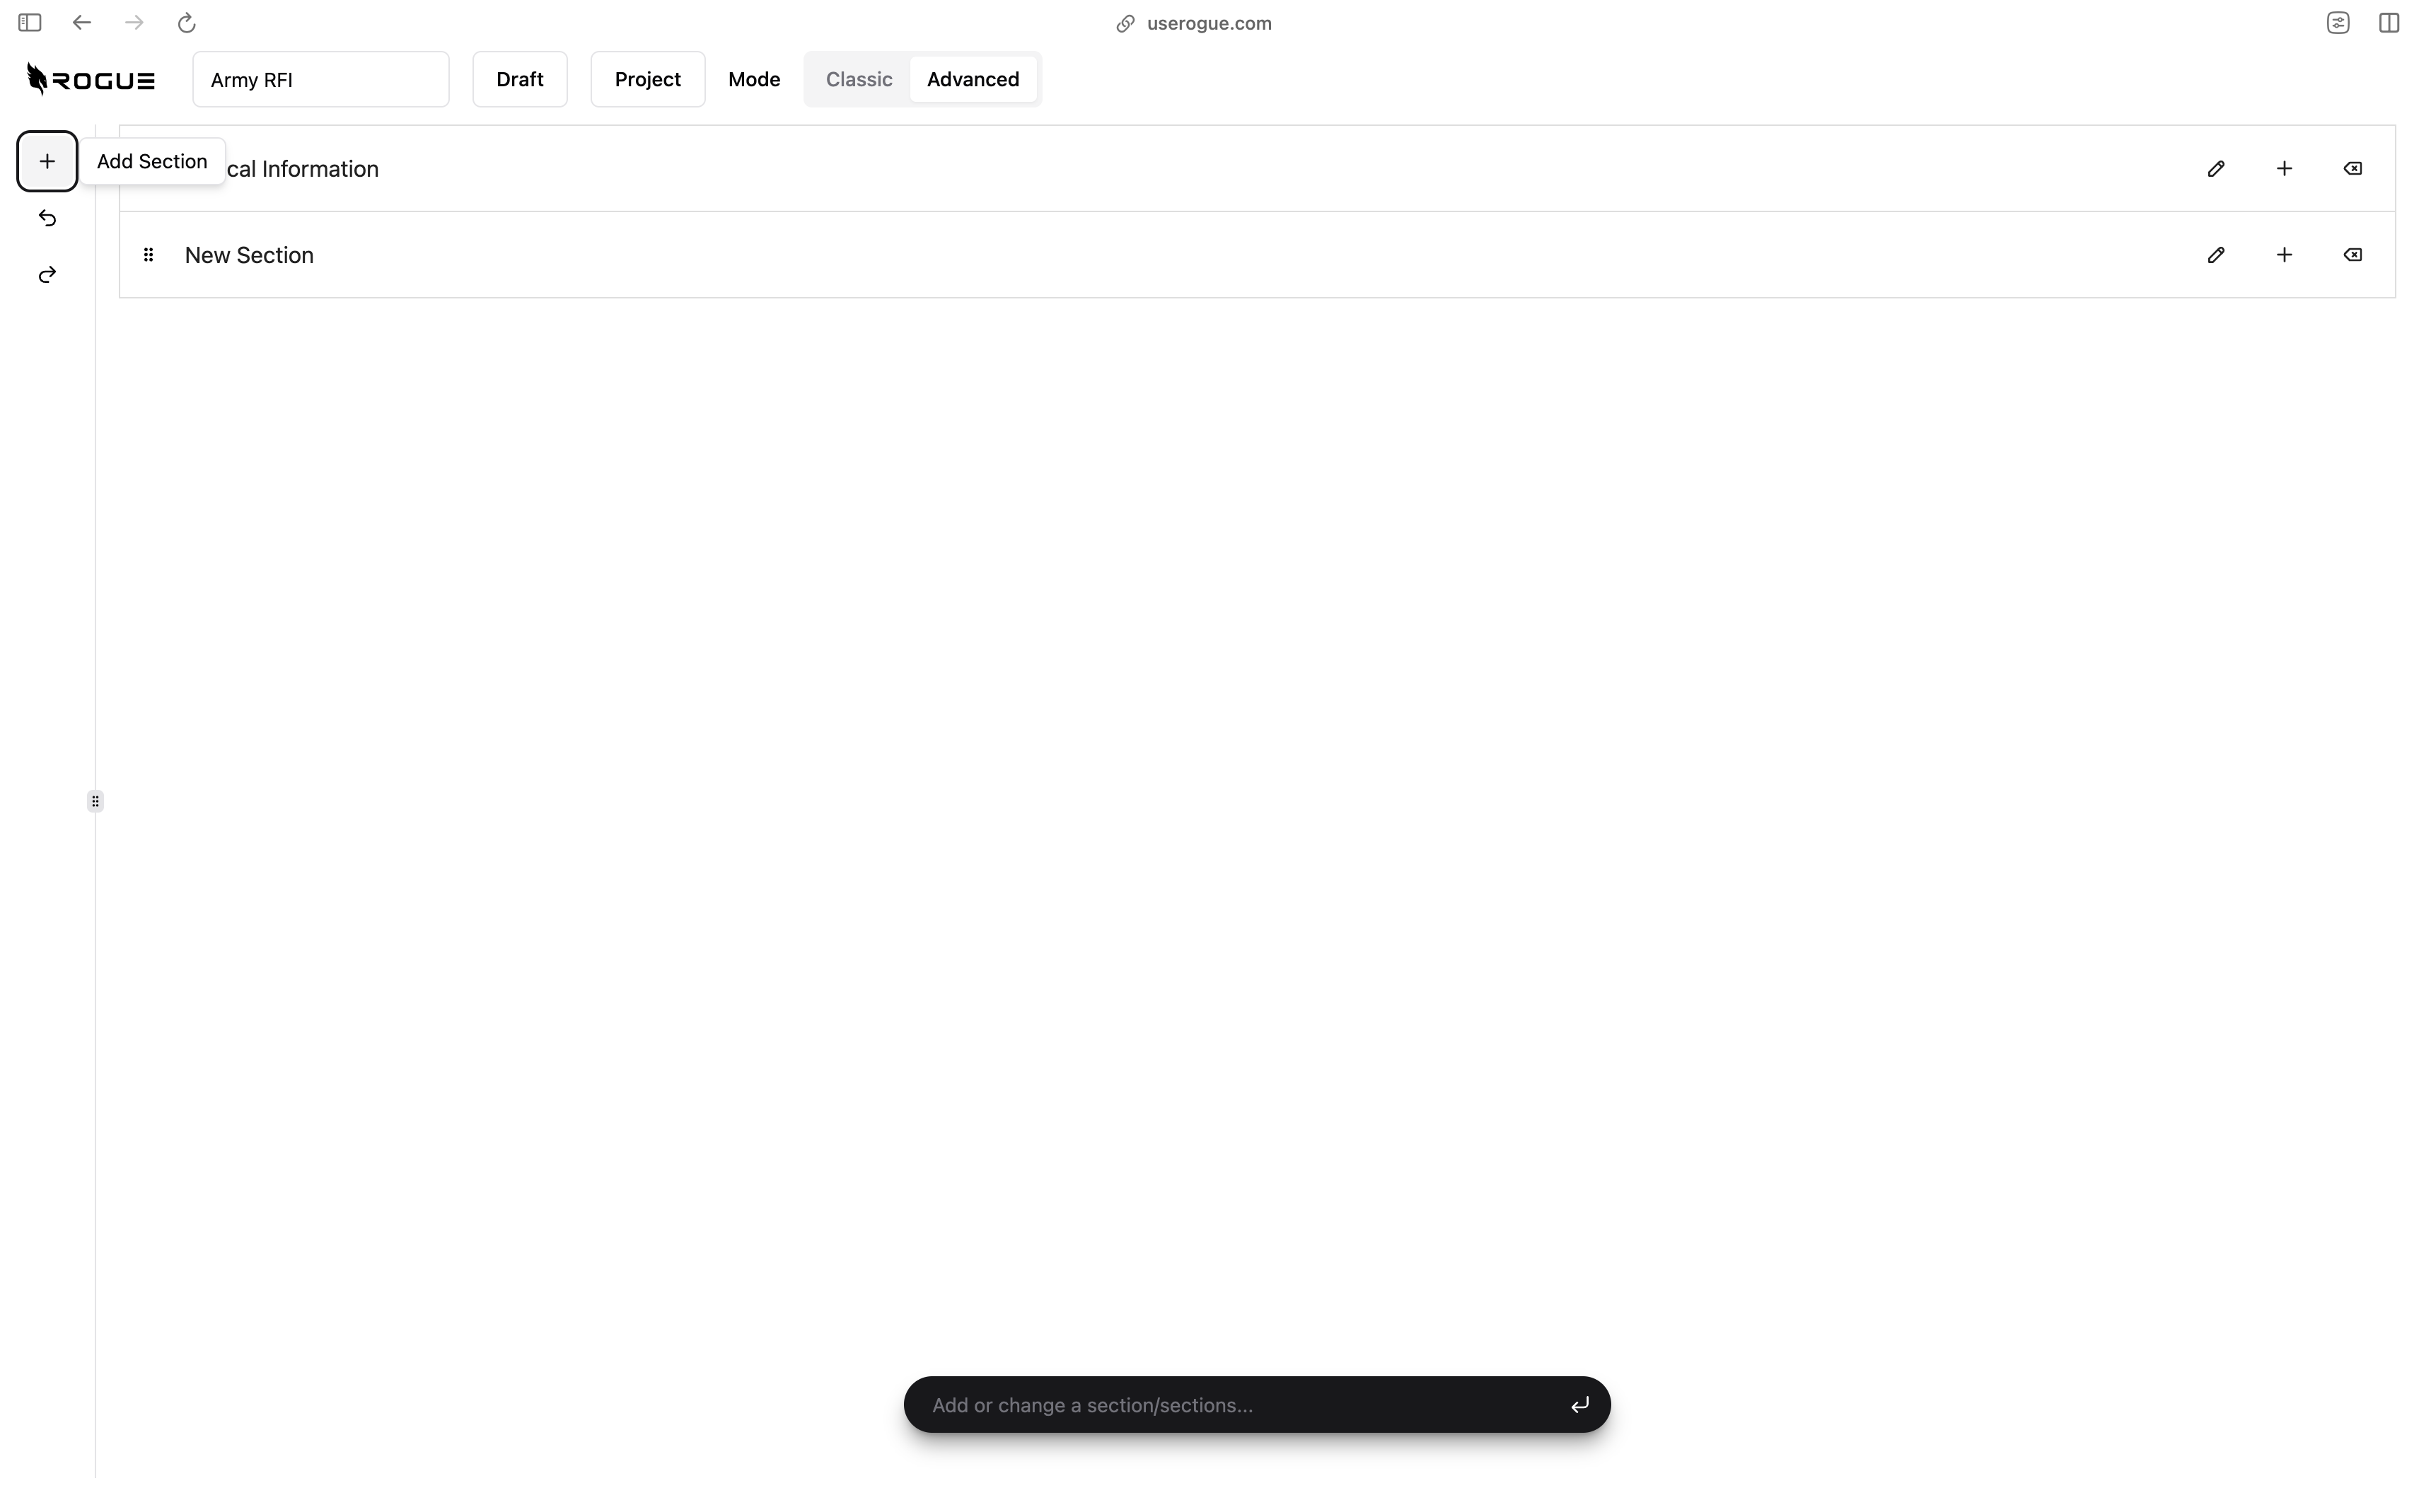
To use the advanced editor, simply select the advanced editor option when creating a template. Then create a section by clicking the “Add Section” button.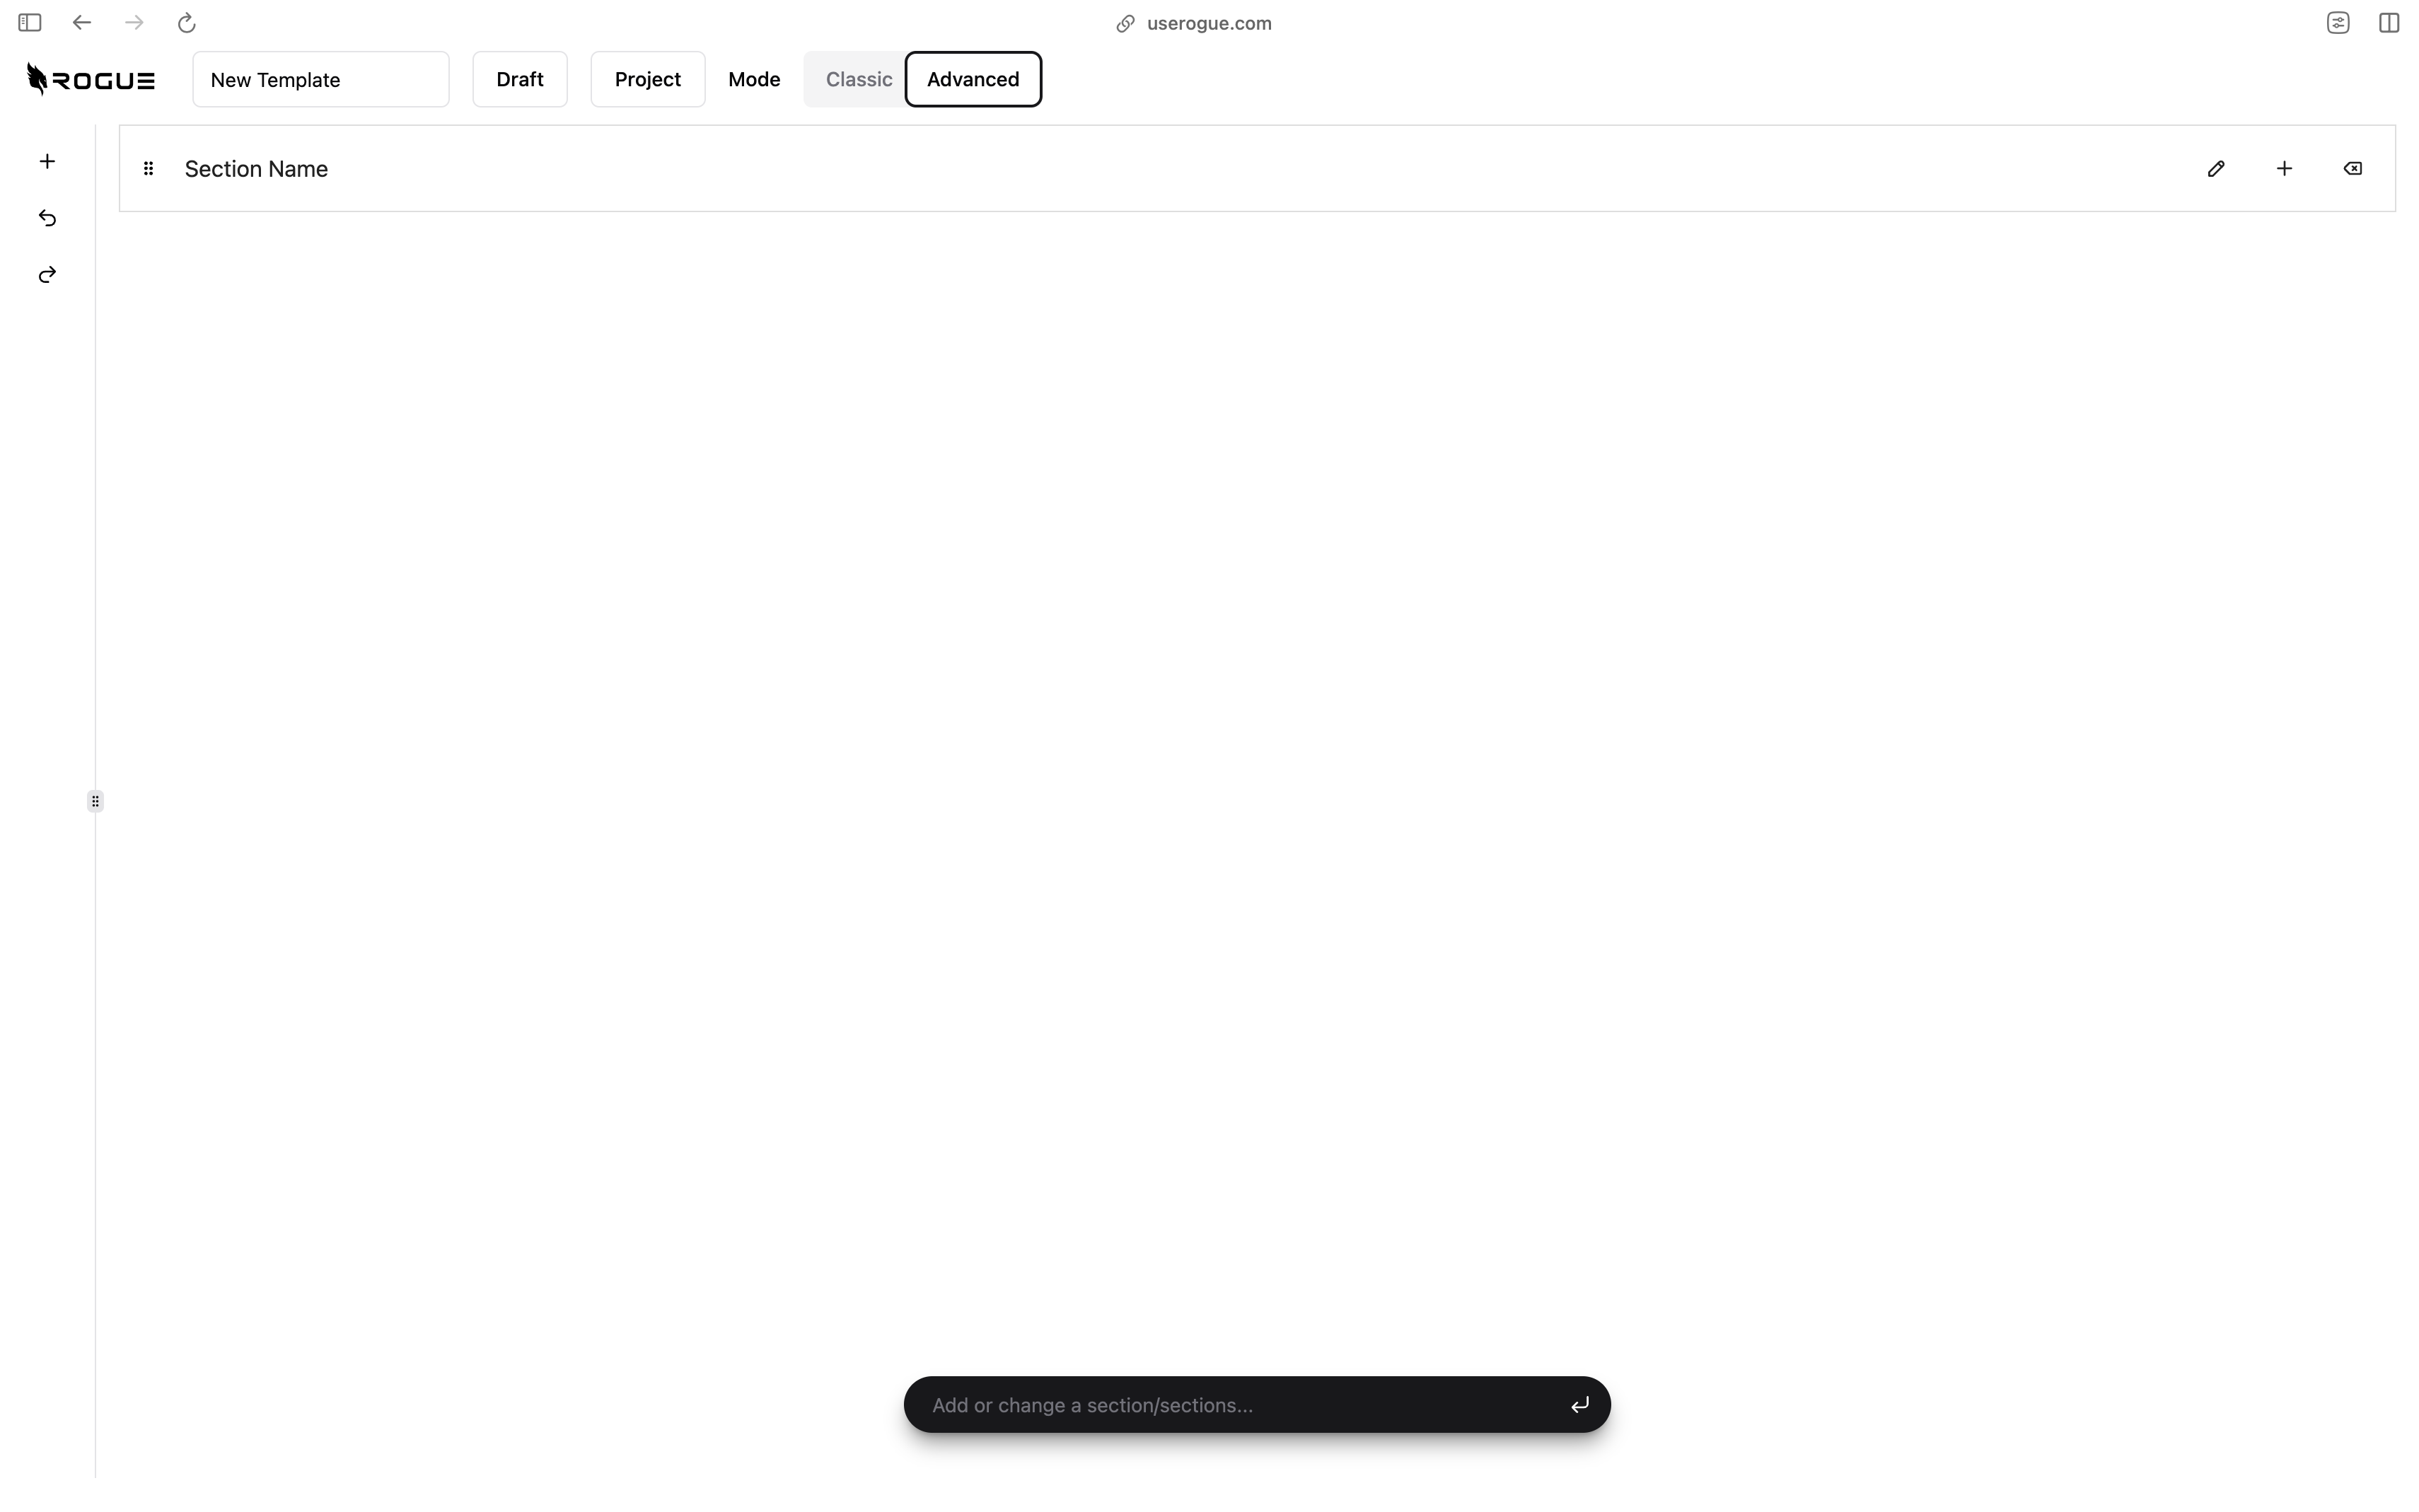
Setting templates live
With either process, be sure to name your template and set it to “Live” to use it in generations.