Overview
We have a number of approaches for writing proposals and other documents ranging from very simple with minimal intervention by the user and maximum generation by the artificial intelligence, to more complex where the user has maximum control and the AI provides only a supporting role. To utilize the artificial intelligence in the initial draft generation, the platform will need three key pieces of input:- A document title. The document title should be whatever you intend to name the document, this could be a volume number, followed by a title or perhaps it’s a singular RFI response. In any case, the AI utilizes the document title as part of its initial generation logic, so please be sure to name the document accurately.
- A document outline. The document outline should be strictly the section headers for your document. with any of the auto generation processes, the AI will use the document template and generate semantically relevant content for each section header. This stage is an excellent opportunity for initial document, outlining and approach solutioning. including solution cues as headers in the document template can save an immense amount of time later in the writing process.
- A document description. The document description is the most concise and accurate articulation of what the government is seeking. We commonly use background paragraphs from a Statement of Work, the Desired Capability descriptions, or other discuss descriptions as provided by the government. This description section provides the artificial intelligence with the context and semantics of what you need to write.
Start from an outline
Step 1: Access Dashboard and Initiate New Proposal

- Go to the Rogue dashboard.
- Start a new proposal.
- Name your war room.
Step 2: Begin Compliance Matrix Generation
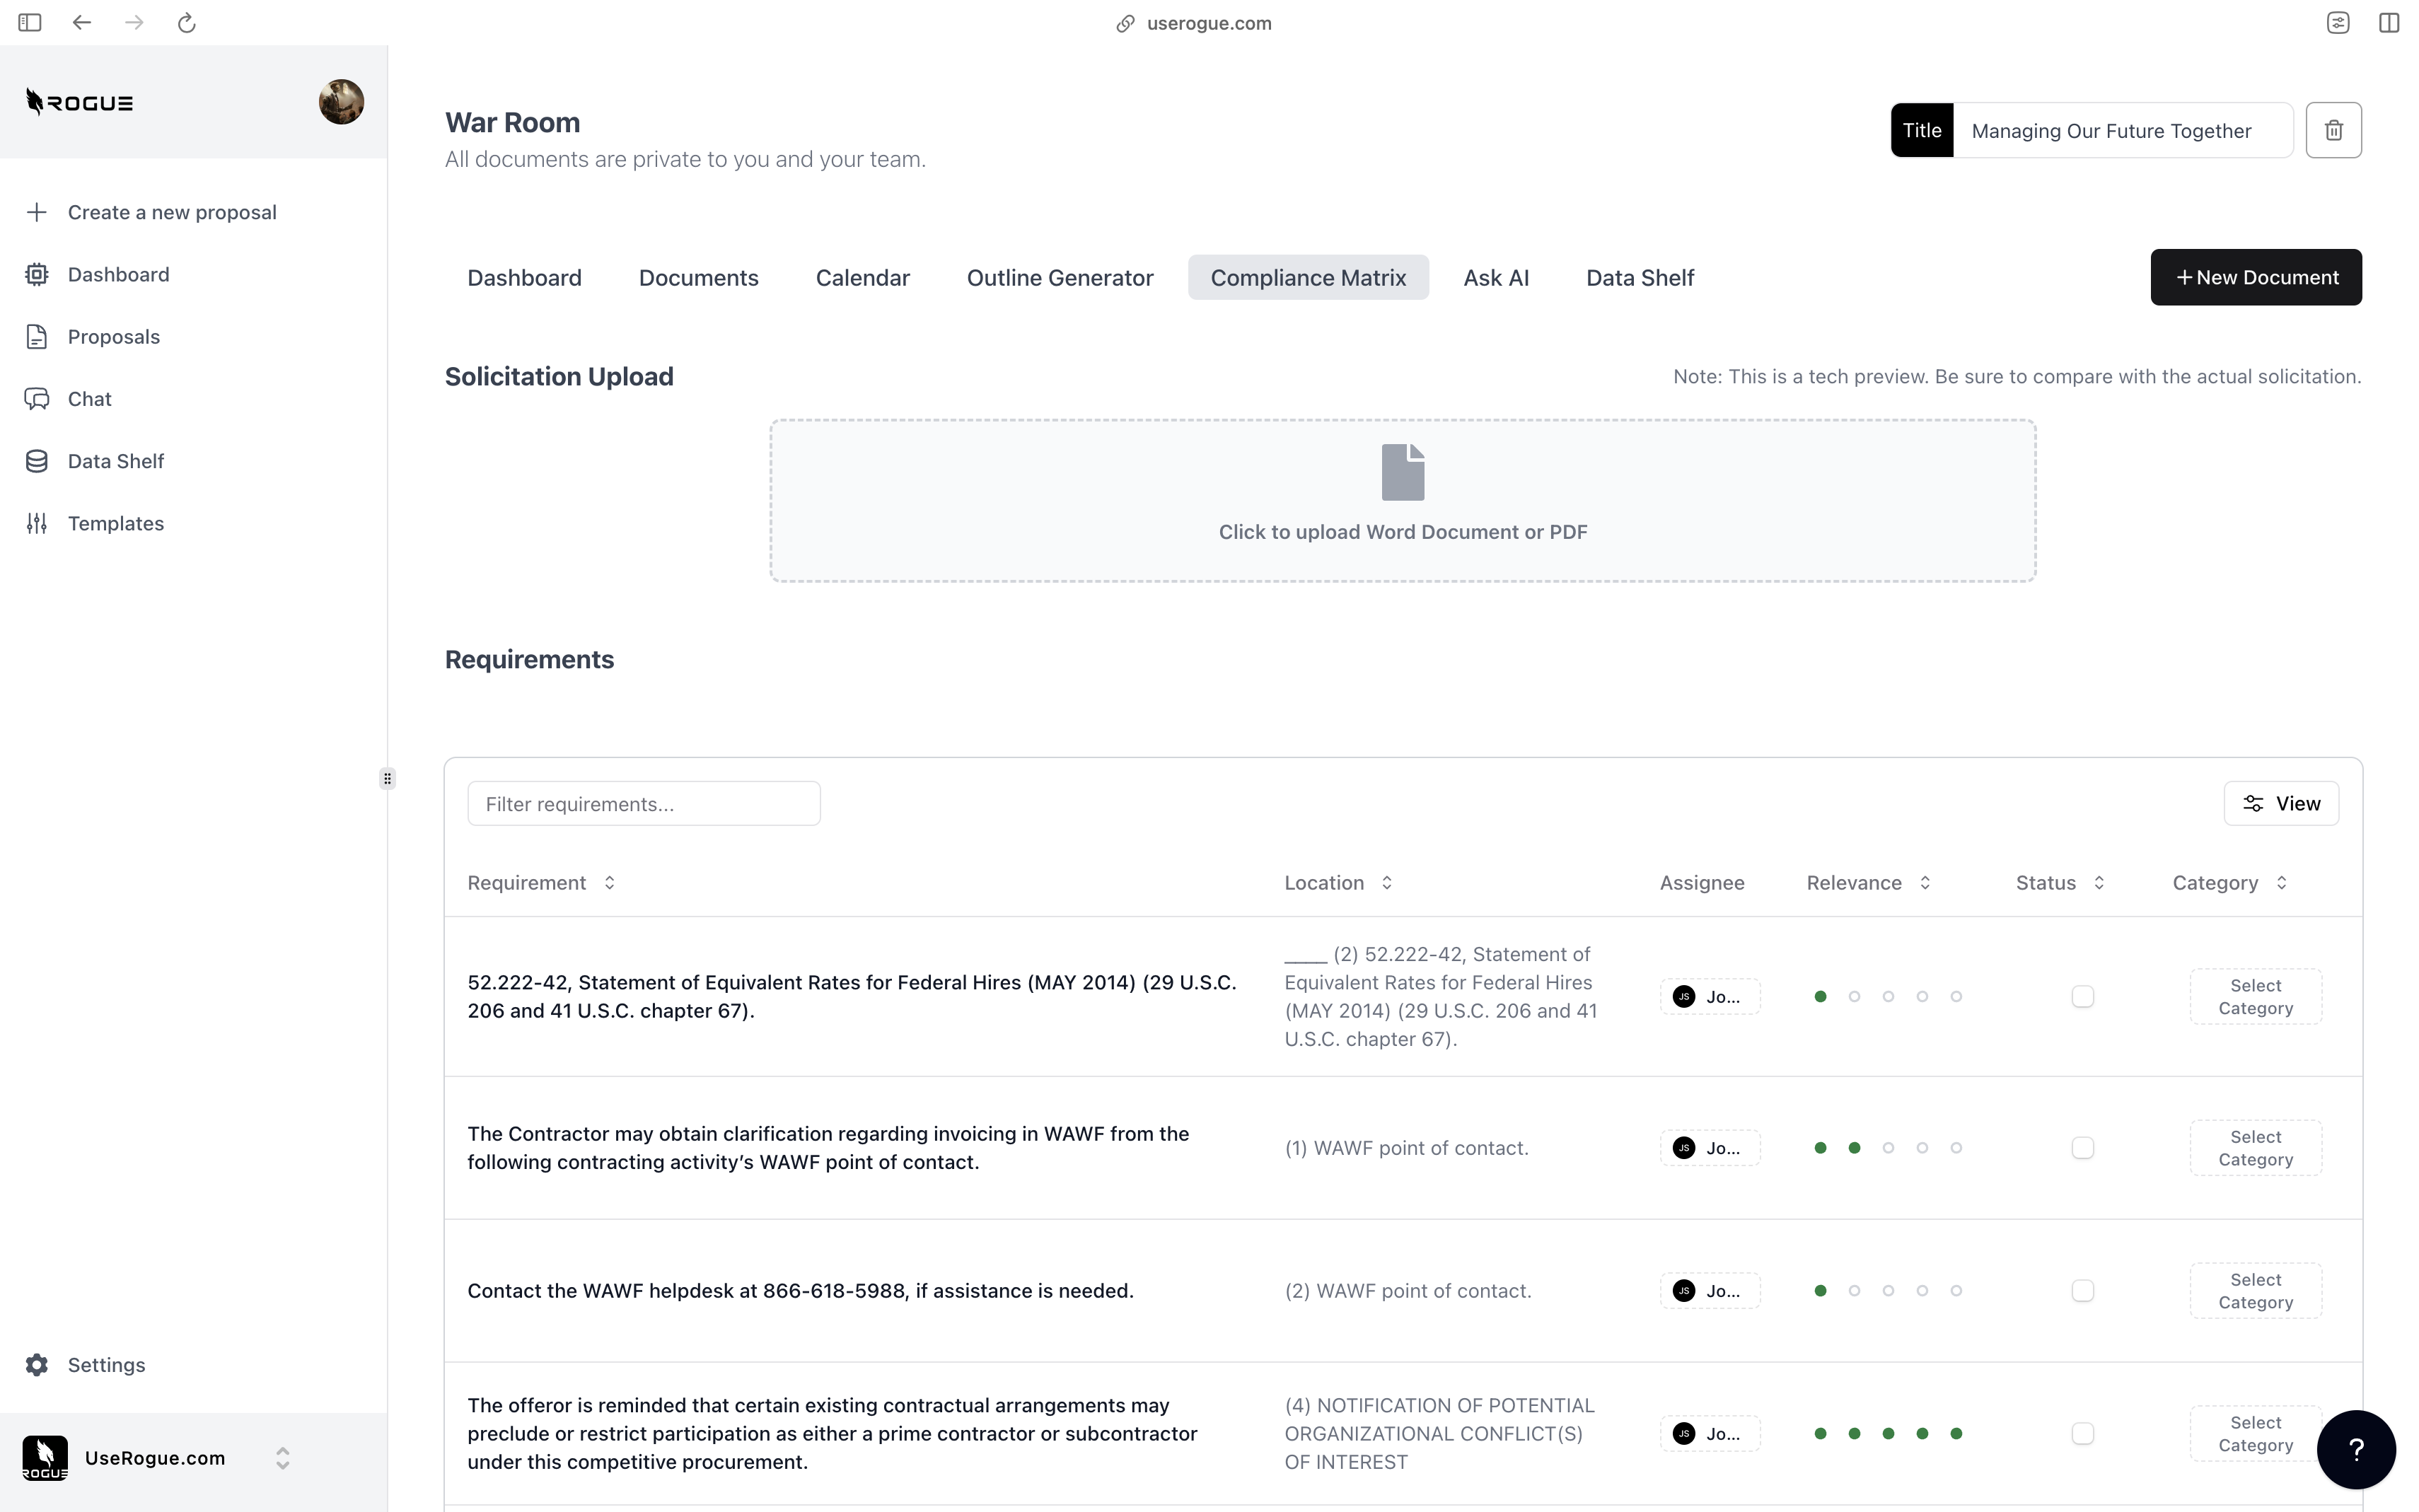
- Go to the compiance matrix tab.
- Select and upload the RFP document for the proposal.
- Observe the compliance matrix loading on the screen, enabling the AI to process the document and identify government requirements. Note that it may take a few minutes for the matrix to fully generate.
Step 3: Create Proposal Outline
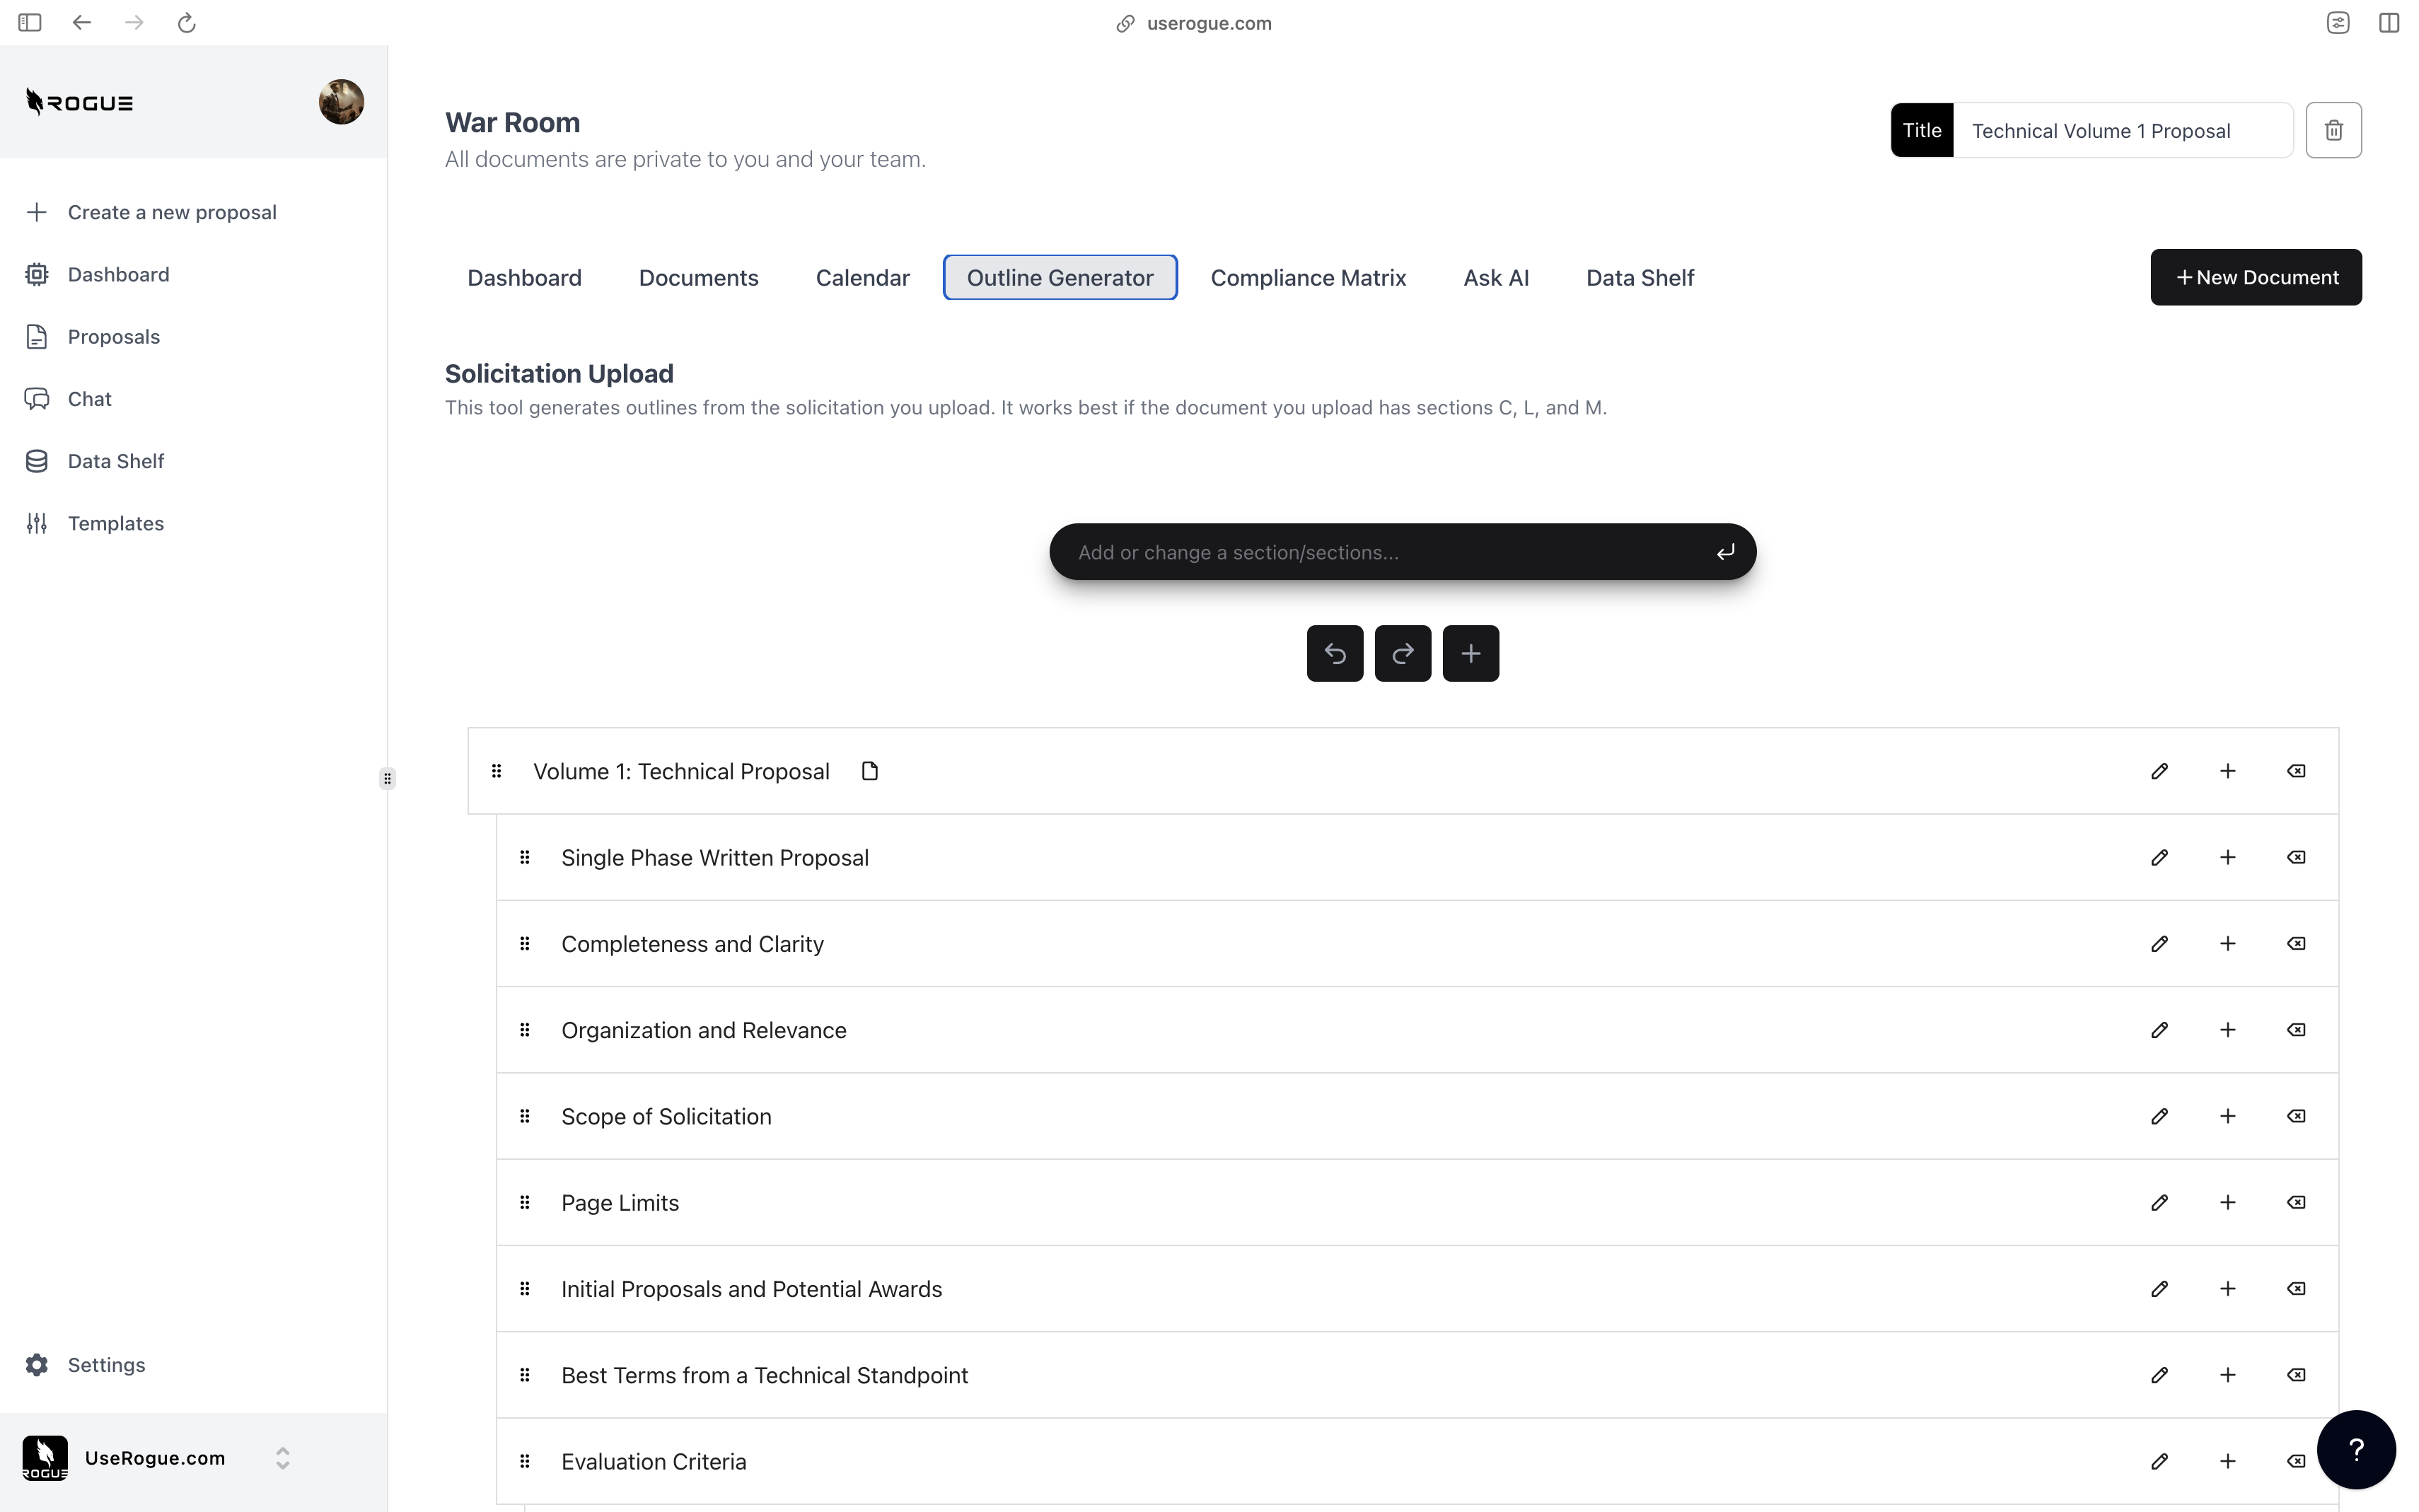
- Go to the outline generator.
- Repeat the process with the RFP document, ensuring it includes sections like L, M, and ideally C.
- After uploading, Rogue will create the proposal outline.
- Choose the outlines for the sections you want to respond to, focusing on a management volume and a technical volume.
Step 4: Tailor Your War Room Data Shelf
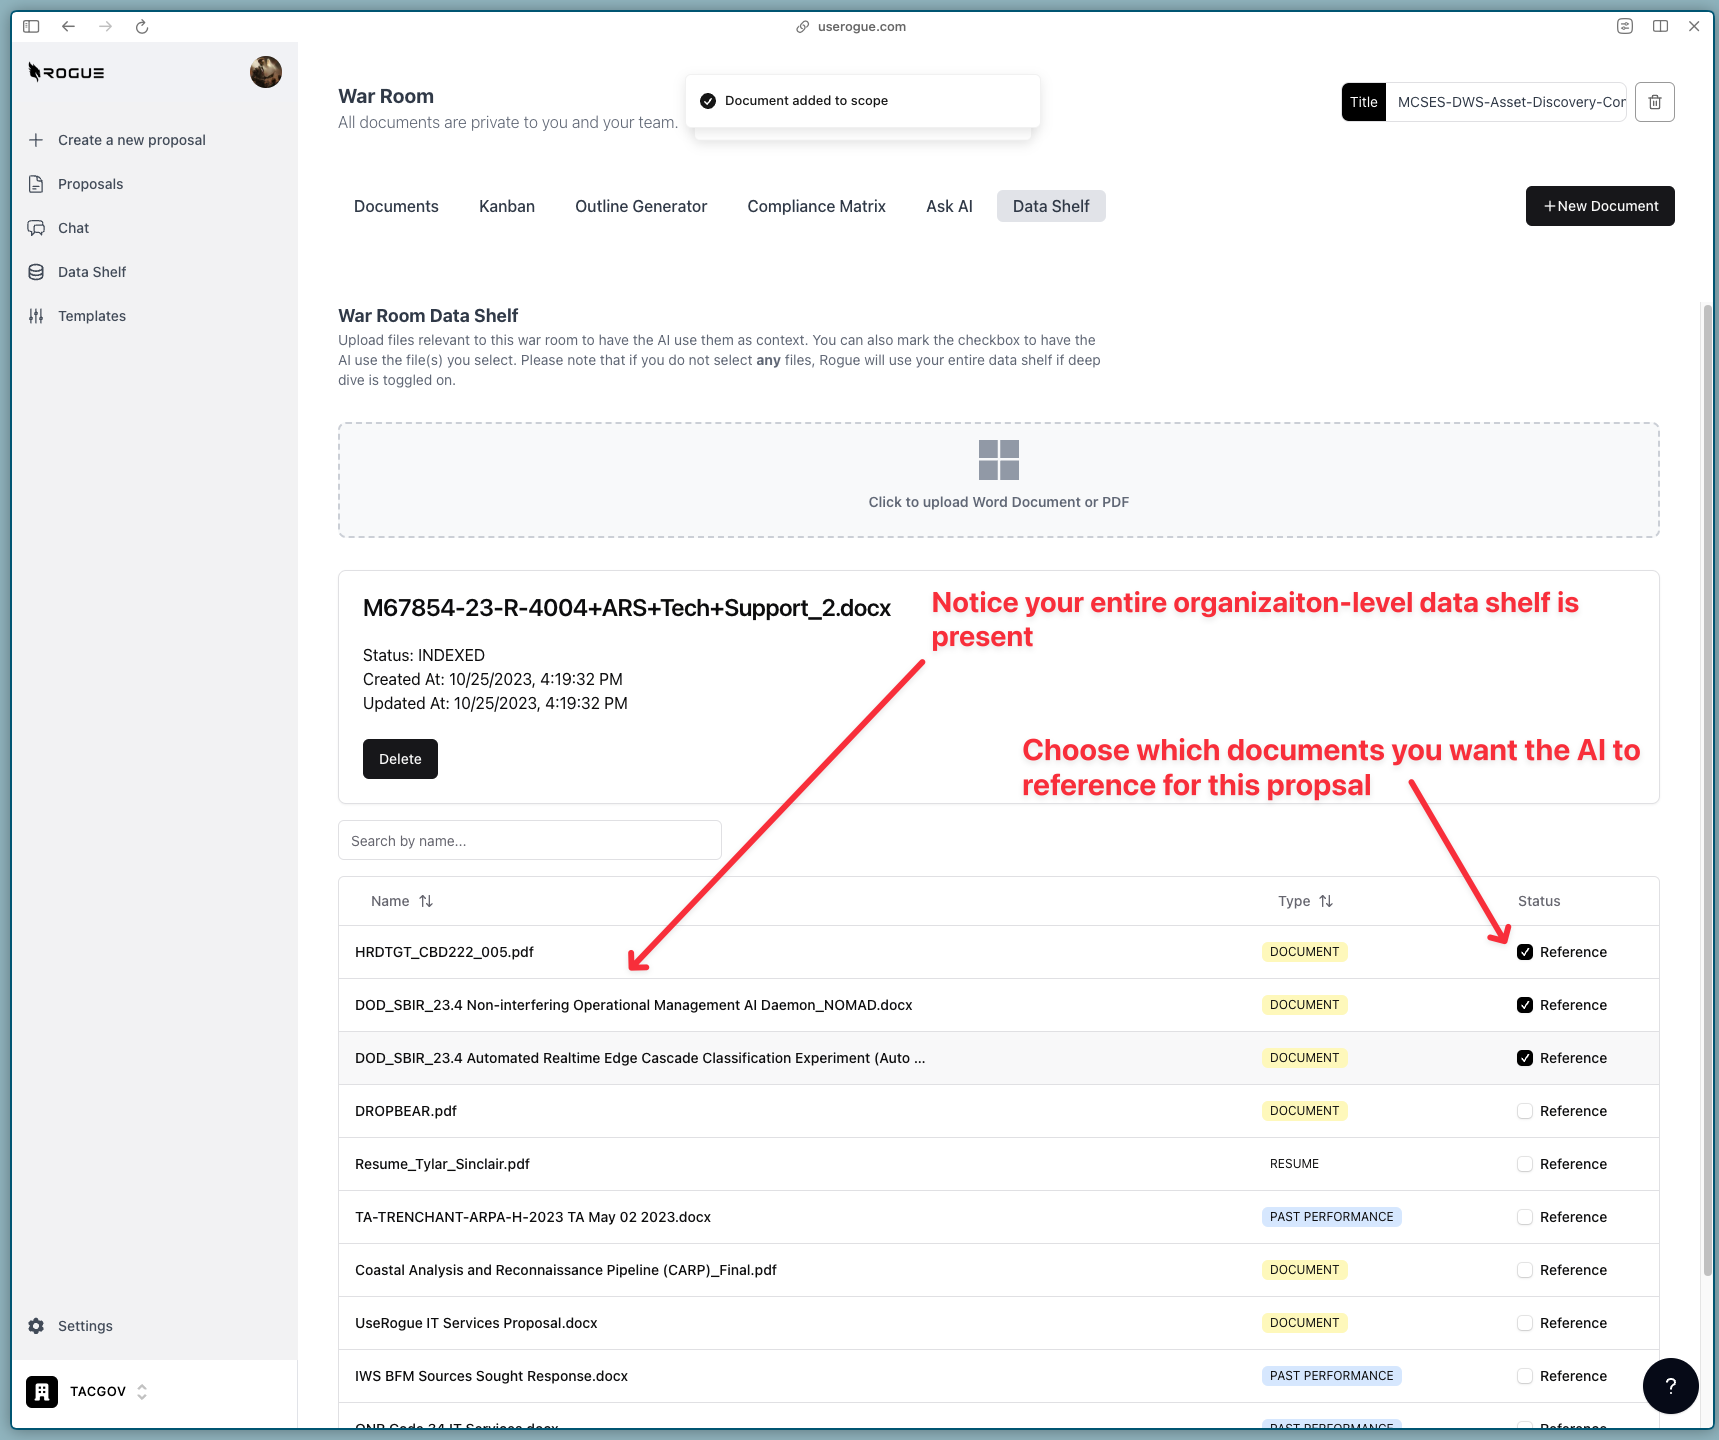
- Visit the data shelf tab specific to your war room.
- Select documents for the AI to index from the organization-level data shelf and/or upload specific to this proposal.
- After uploading, these documents will be used for referencing, indexing, and aiding AI generation tasks.
Step 5: Start Proposal Generation
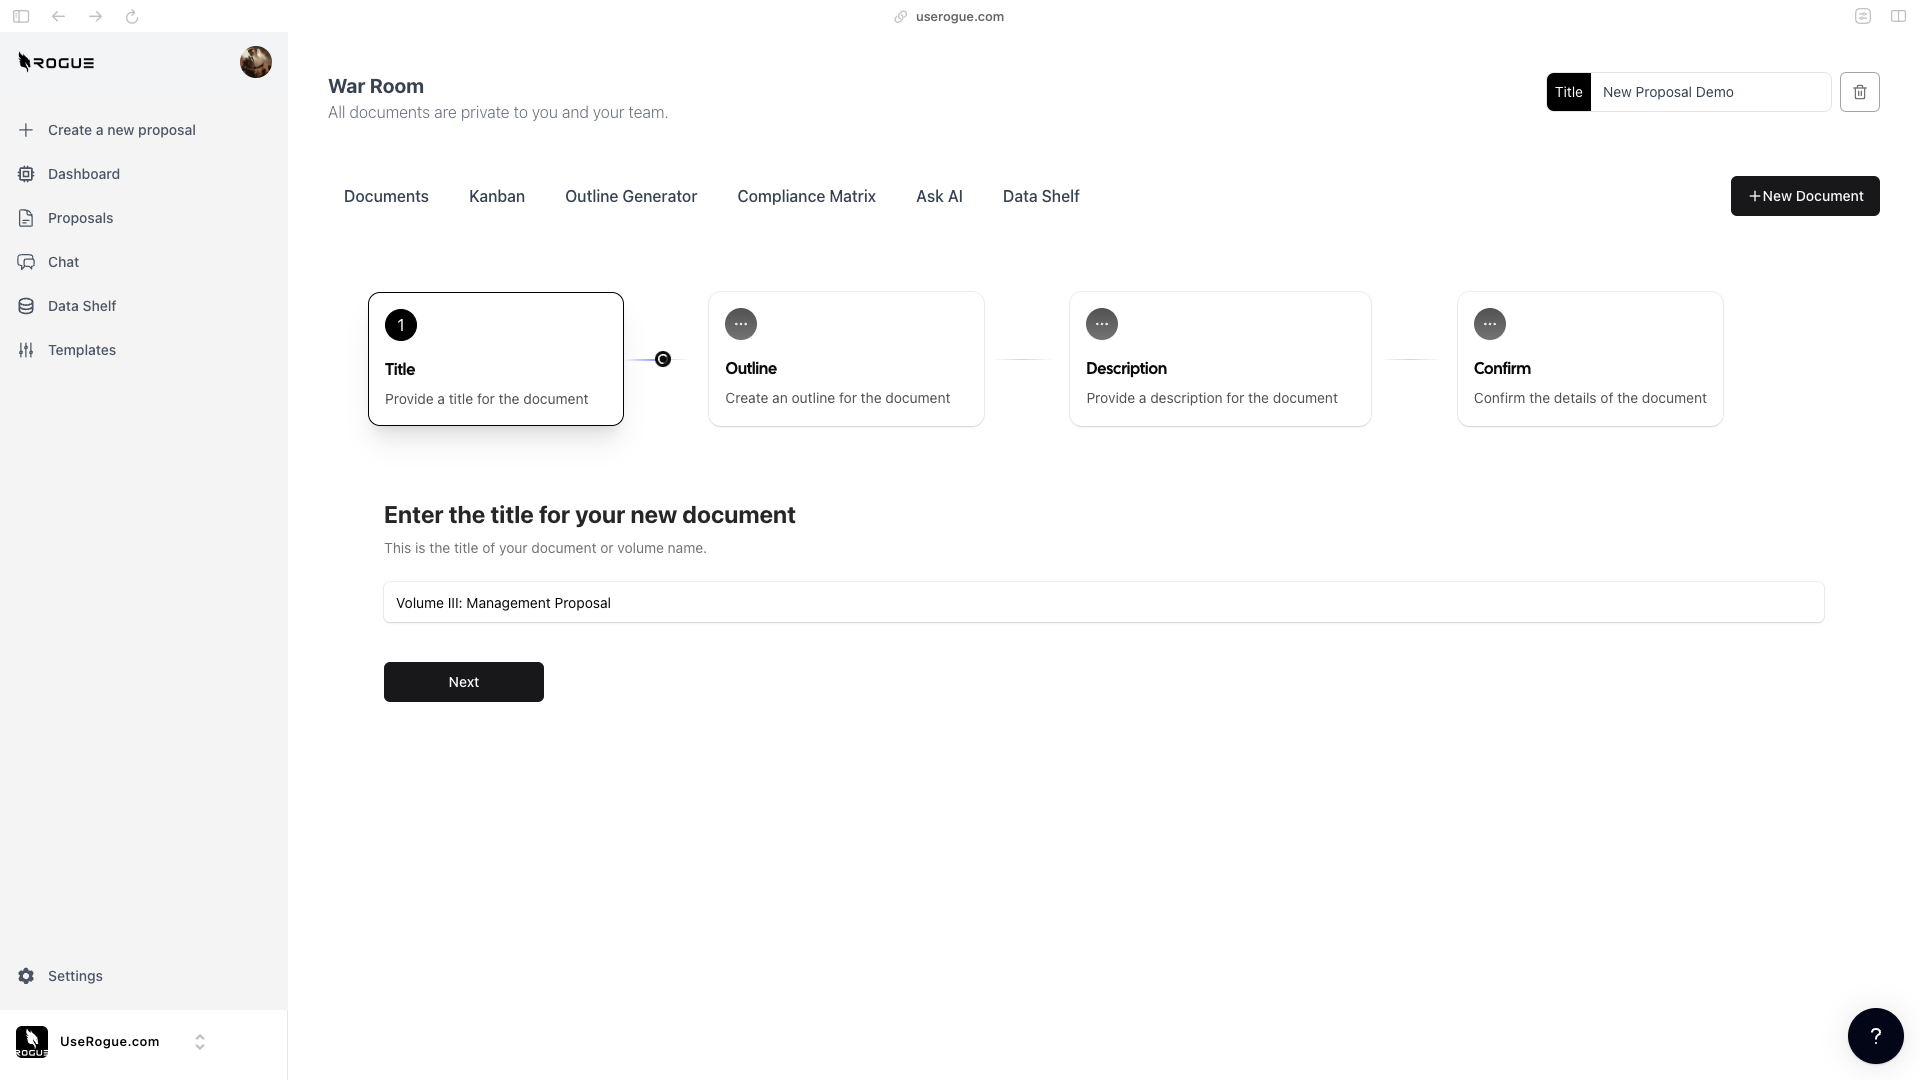
- Go to documents to see the available draft proposals.
- Adjust the title of your document as needed.
- Adjust the AI-generated outline as needed/desired.
- Provide a clear description of what the government seeks to purchase, guided by a performance work statement.
Use the chat interface for complex requirements to translate solicitation language into usable description statements and generate proposed win themes.
- Adjust or craft win themes before generation.
- Confirm the accuracy of all information.
- Toggle deep dive on to index the data shelf for this solicitation, or off to generate content organically from the tuned generative model.
Step 6: Select “Generate”
Click the button and watch AI write your first draft.Full walkthrough.
Start from a Template
Starting from an template, requires that you first construct an outline within the system. The start from an outline function is best suited for solicitation types that have common proposal formats for instance, many MAC/ID, IQ contracts, broad agency, announcements, and other open calls tend to maintain standard formats. With these types of solicitations, it is less efficient to go through the RFP upload function as the document templates will always be the same, so we enable you to shortcut this process, by simply establishing a document template. To begin toggle the “Use a Template” optionIf this option is not visible, it means that you do not have a live template
in this org, double check that you have a template in your org and ensure it
is live.
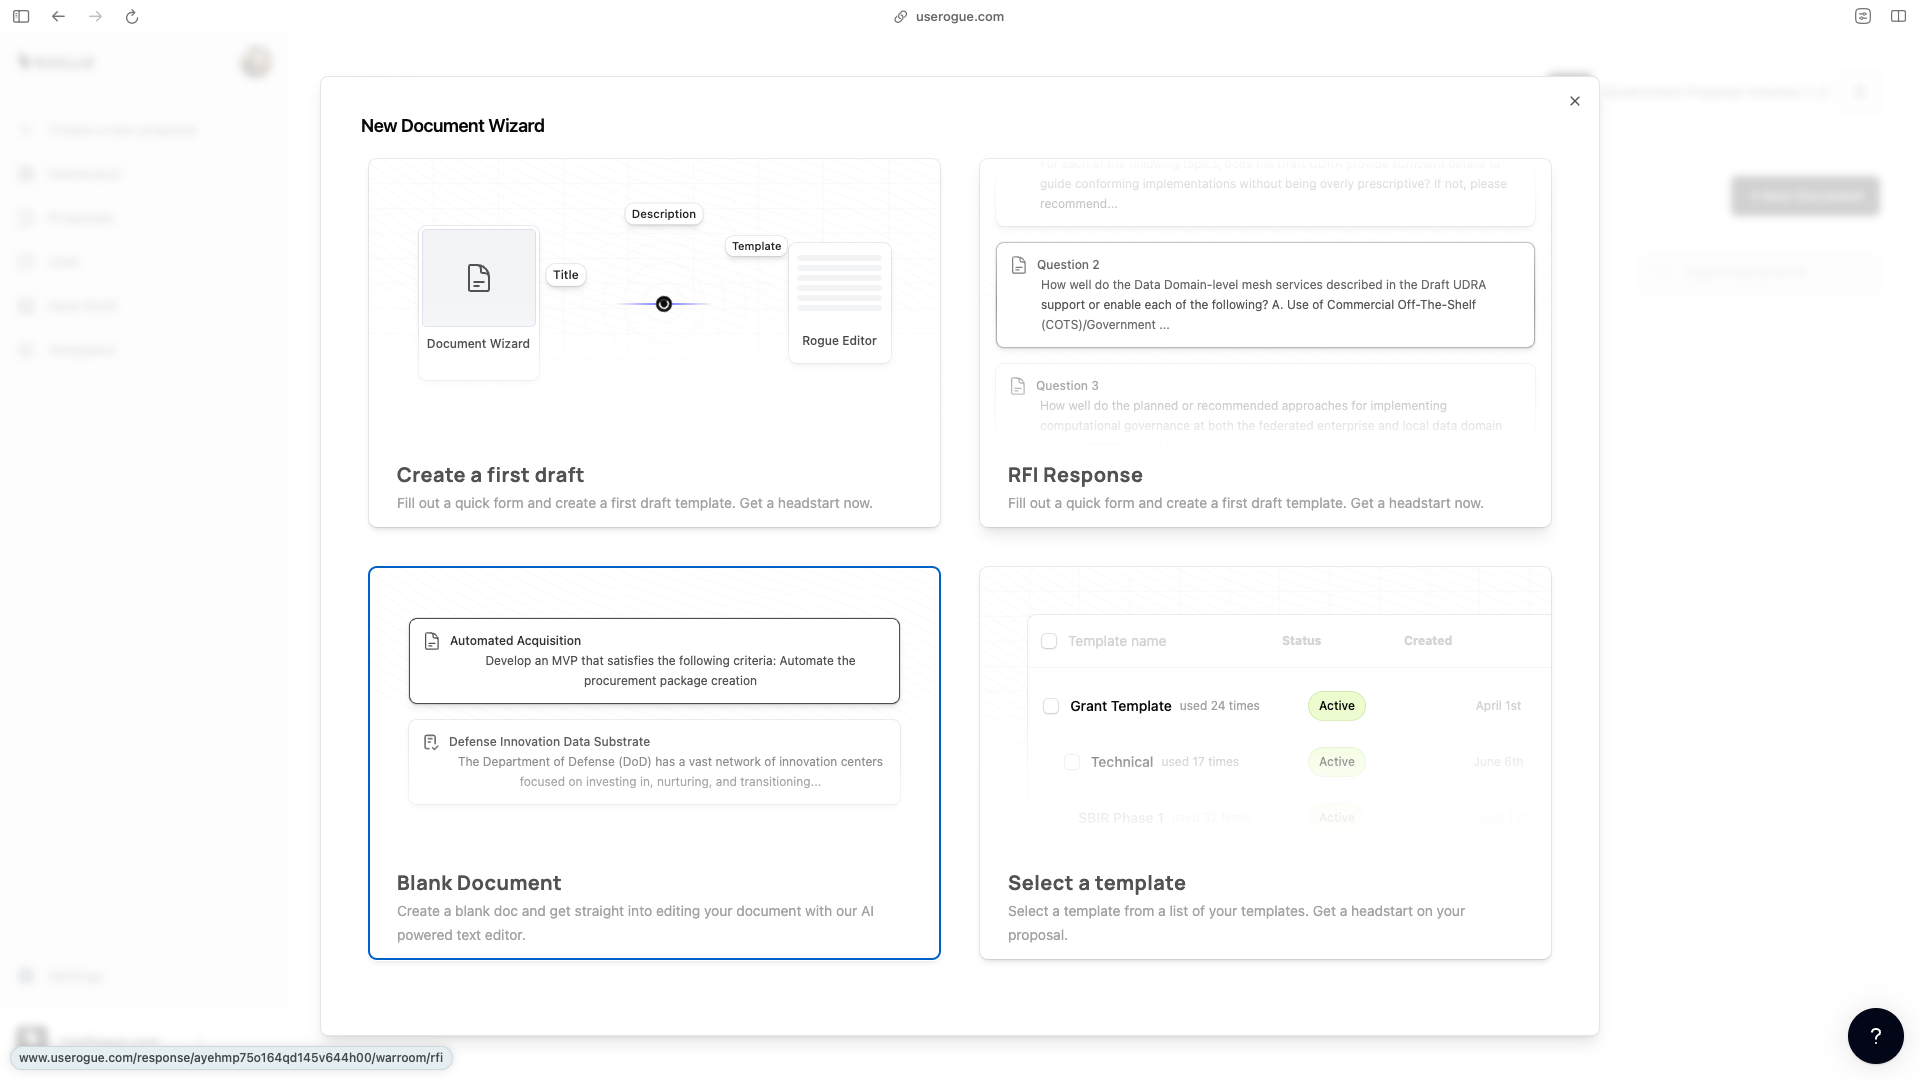
Step 1. Enter a Name
Give your proposal a name.Step 2. The Outline
The outline will drop in as you have it in the saved template. However, this stage is an excellent opportunity to improve from the saved template, outlining and approach solutioning. including solution cues as headers in the document template can save an immense amount of time later in the writing process.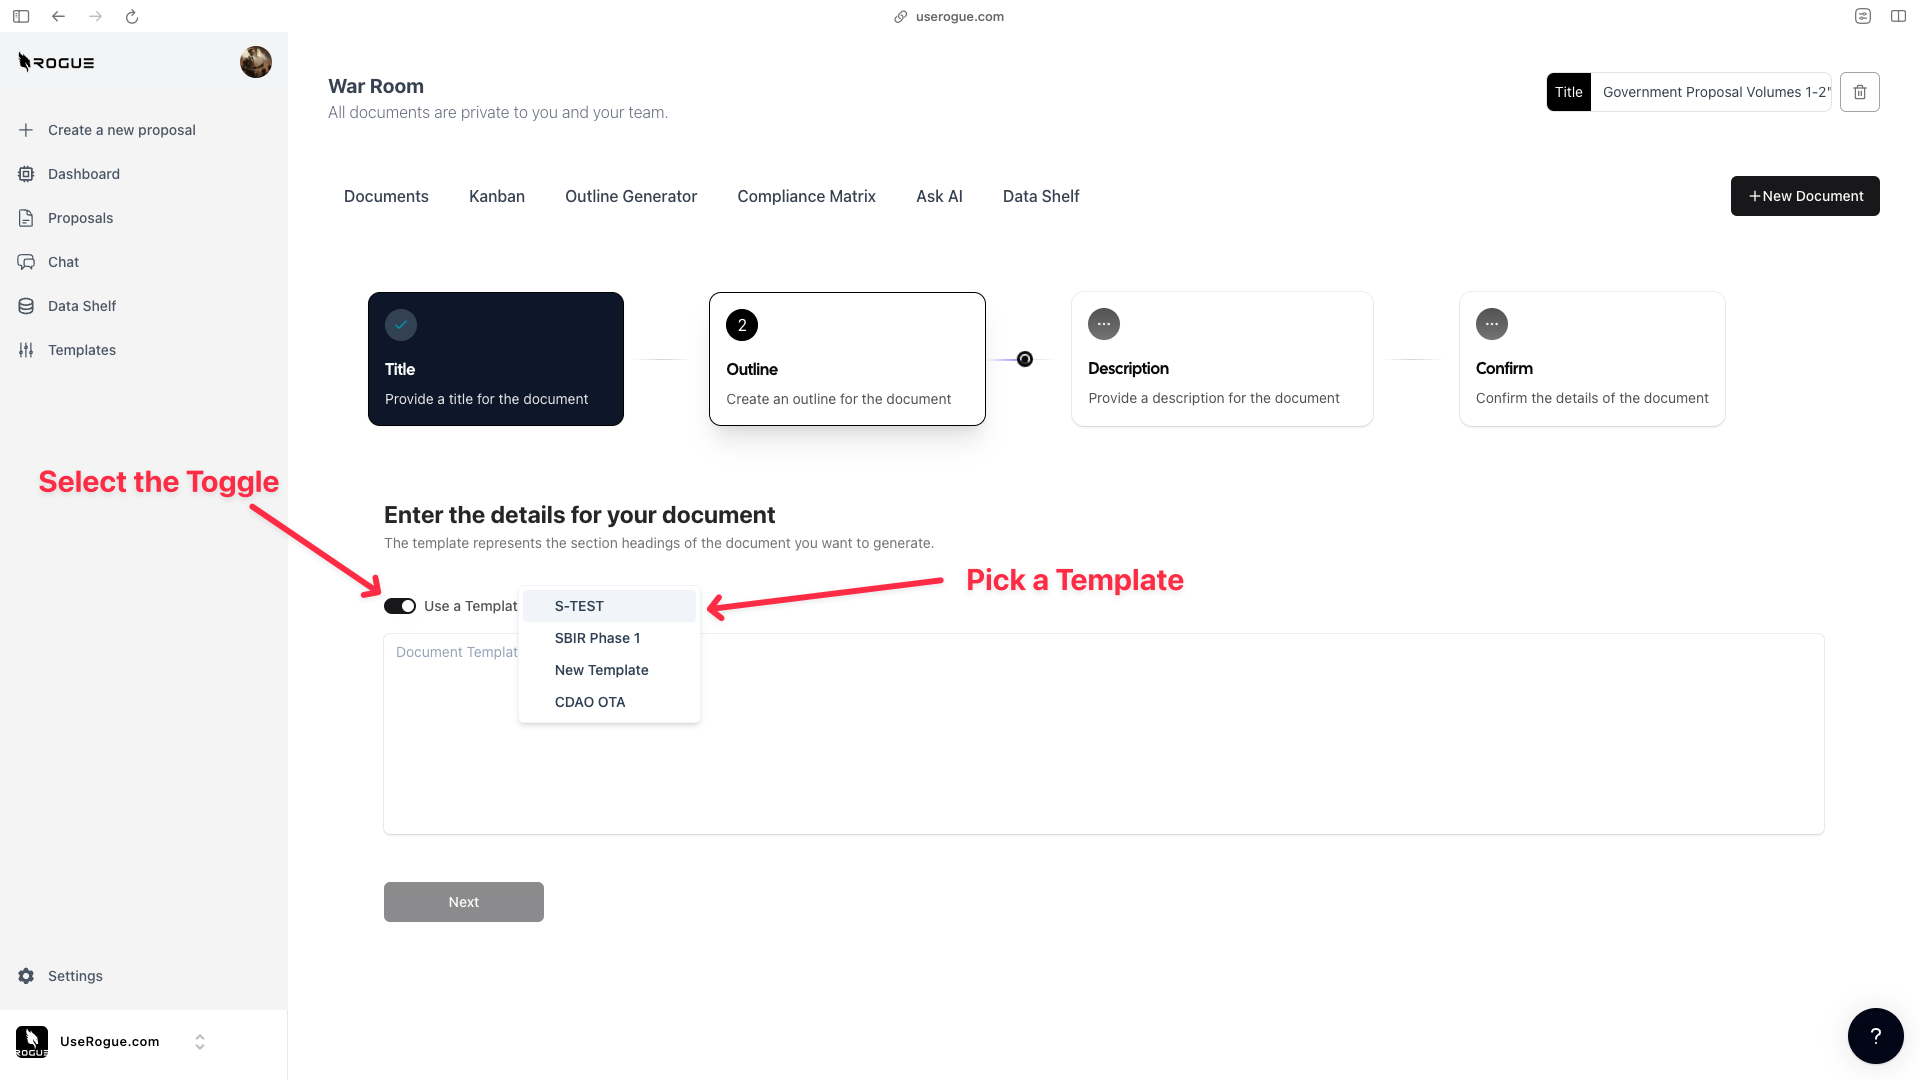
Step 3. The Description
The document description is the most concise and accurate articulation of what the government is seeking. We commonly use background paragraphs from a Statement of Work, the Desired Capability descriptions, or other discuss descriptions as provided by the government. This description section provides the artificial intelligence with the context and semantics of what you need to write.Start from a Current Document
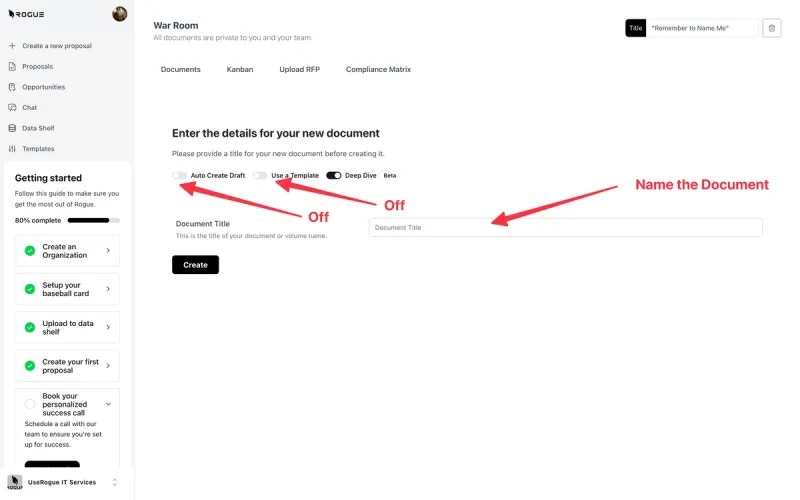
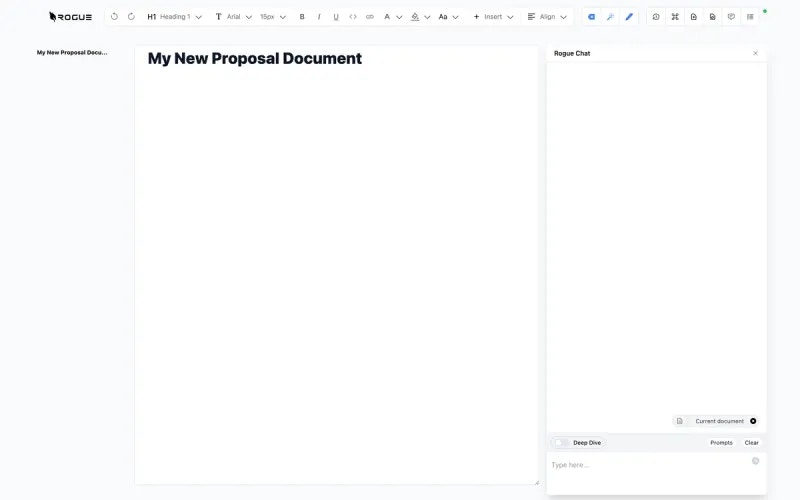
Starting from a current document is essentially skipping to the document editor. To do so, toggle off the “Auto Generate Draft” and “Use a Template” option. Give the document a name a select “Create”